
|
Do it yourself
| |||
| ||||


How to Dismantle the Door Panel to Repair the Window Regulator
Model: Nissan Primera
MK 3
- Years:
2002, 2003, 2004, 2005, 2006, 2007, 2008
Video tutorial
In this tutorial, the inner door panel of a Nissan Primera is dismantled to repair the electric window regulator, which struggles to close, especially in winter due to freezing. First, remove the side storage compartment and the door light. Take off the small covers that hide the screws and unscrew them. Detach the top part of the inner handle and locate the three screws it concealed; unscrew them with a star screwdriver. Now you can detach the clips holding the door panel: remove the panel only after disconnecting the electrical connections (including the window regulator control). Now that you have removed the entire panel, also take out the window control block from the door. Unscrew the three screws securing it and unclip it. Remove the plate on the block by unscrewing the two screws and take out the control switch; test its operation. Check the bolts holding the glass: they are visible when the window is down. Inspect the glass and then remove the silver plate connected to the window mechanism. Once its screws are removed, pull it down and observe the window mechanism: clean and lubricate its parts. The final part also explains how to remove the side mirror: Remove the internal plastic cover at the height of the mirror, disconnect the electrical connection, unscrew the three 10 mm bolts securing it, and extract the mirror.
Updated on 10 February 2026 by ScegliAuto
Related tutorials
Nissan Primera
(2002-2008 /
MK 3)
Today, in this guide, discover the instructions that will allow you to remove the front door panel of the Nissan Primera. First, open the front door …
Nissan Primera
(2002-2008 /
MK 3)
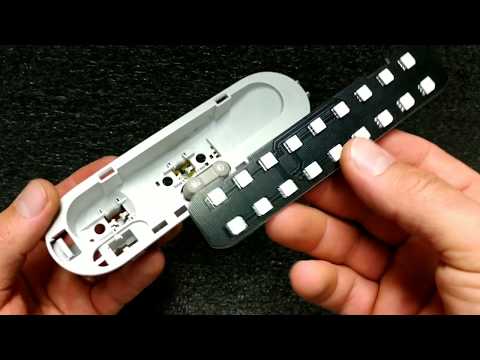
Let's see how to replace the interior light bulbs on a Nissan Primera. Use a screwdriver to lever between the light unit and the headlining (without …
Nissan Primera
(2002-2008 /
MK 3)
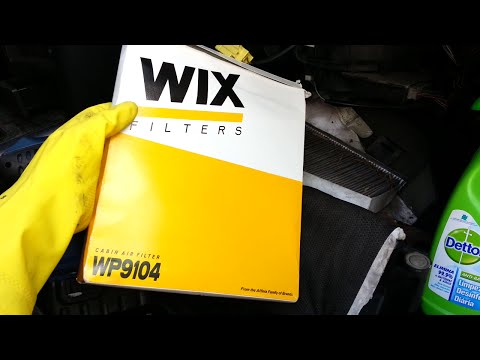
The cabin air filter is located on the passenger side behind the glove compartment: you will need to remove the glove compartment to access the filte…
Other guides you may be interested in
|
How to Reset the Tyre Light on a Toyota Aygo?
To reset the tyre light on a Toyota Aygo, start by locating the reset button, which is found in the glove compartment of the front passenger side. Turn on the car and ensure that the tyres are at the correct pressure. Then, press and hold the reset button for a few seconds until the tyre light either flashes or turns off, depending on the model. Release the button and wait for the reset procedure to complete. Restart your Toyota Aygo and check if the tyre light has turned off, indicating that the reset was successful. by ScegliAuto More videos
|
|
For advertising on this site Write to info@scegliauto.com
ScegliAuto is not responsible for any inaccuracy of the data in the lists. To report any inaccuracy or your business (if you own the business in question), please write to info@scegliauto.com
Number of seconds to generate the page: 0.027
(c) ScegliAuto 2026 - info@scegliauto.com - Privacy policy VAT number: IT01247470535 |
