
|
Do it yourself
| |||
| ||||


How to replace the coolant in the Opel/Vauxhall Corsa D
Model: Vauxhall Corsa
Corsa D
- Years 2006-2014
In this video we can see how to replace the coolant of an Opel Corsa "D": open the hood. The engine must be cold to work on the cooling system. Before draining the system, unscrew the cap of the expansion tank to release the residual pressure: loosen or remove the cap to prevent airlocks during draining. Remove the engine cover and loosen the clamps connecting the duct, which we will then move aside, as we will also do for the wiring. Remove the air intake duct; now raise the vehicle and place a container on the left side of the vehicle to collect the liquid that will come out of the radiator, which we will dispose of at an authorized center. Lower the vehicle and unscrew the bleed screw at the top of the radiator. Add water and antifreeze to the tank, filling it up to the base of the filler neck. When the liquid comes out of the upper bleed screw, screw it back in. Reconnect the air intake duct. Attach the wiring, reassemble the air duct by fixing the screws and tightening the clamps. Put the cap and engine cover back in place, then start the engine and run it at 2500 rpm until the fan turns on, for a couple of minutes. Turn off and let it cool, then check the liquid level again. If necessary, top up the liquid.
Posted on 24 July 2025 by ScegliAuto
Video tutorial
Related tutorials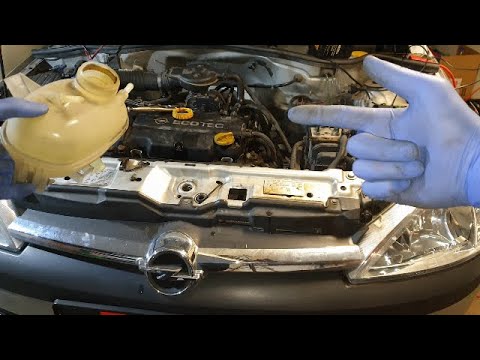
Vauxhall Corsa
(2000-2006 /
Corsa C)
In this video tutorial, you will learn how to replace the coolant and thermostat on the Opel Corsa C, third generation. First, open the bonnet of you…

Vauxhall Corsa
(2006-2014 /
Corsa D)
The steps illustrated in this guide will show us the process of replacing the engine coolant of the Opel Corsa. First, we disconnect the radiator coo…
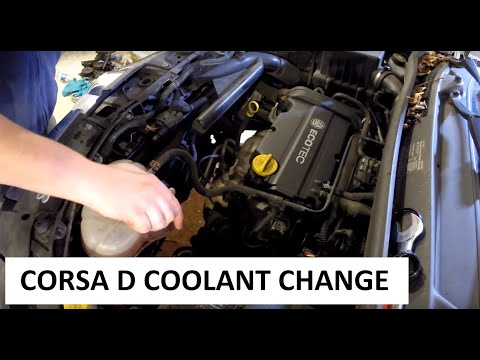
Vauxhall Corsa
(2006-2014 /
Corsa D)
This guide explains how to bleed the coolant of the Opel Corsa 1.4. First, lift the vehicle and begin by unscrewing the bleed screw of the coolant us…
Other guides you may be interested in
|
Frequently Asked QuestionsHow to Open the Bonnet on the Lancia Y
To open the bonnet on this vehicle, follow these simple instructions: first, open the driver's door and locate the lever positioned just below the dashboard, marked with an image of the vehicle with the bonnet open. Pull this lever towards you until you hear a "click" indicating the bonnet is released. Next, exit the cabin and stand in front of the bonnet to disengage the safety catch and complete the opening. To do this, slightly lift the bonnet, locate the yellow lever underneath, and pull it to the left to fully release and open the bonnet. by ScegliAuto More videos
|

|
For advertising on this site Write to info@scegliauto.com
ScegliAuto is not responsible for any inaccuracy of the data in the lists. To report any inaccuracy or your business (if you own the business in question), please write to info@scegliauto.com
Number of seconds to generate the page: 0.205
(c) ScegliAuto 2026 - info@scegliauto.com - Privacy policy VAT number: IT01247470535 |
