
|
Do it yourself
| |||
| ||||


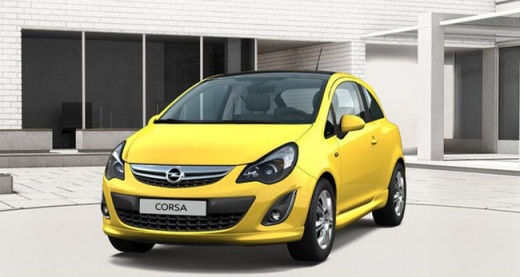
How to Replace the Engine Coolant in the Opel Corsa D 1.4
Model: Vauxhall Corsa
Corsa D
- Years:
2006, 2007, 2008, 2009, 2010, 2011, 2012, 2013, 2014
Video tutorial
This guide shows how to replace the engine coolant in the Opel Corsa D 1.4. The amount of coolant required for this engine is approximately 6 litres, but as there is no drain valve on the engine block, it is necessary to add the new coolant and perform this operation again after about a month. The first step is to remove the protective shield from under the vehicle to access the radiator drain valve. Position a container under the valve and open it; also, open the reservoir cap to allow for quicker drainage. By removing the hose on the right side of the radiator, you can drain more fluid. Refit the hose and close the drain valve; if necessary, clean the reservoir by removing it. Once everything is reassembled, add the coolant according to the vehicle specifications and add water. Open the air bleed valve on the left side of the radiator. Bleed the air by squeezing the coolant hoses and close the valve when fluid begins to flow out. At this point, start the engine and allow it to reach a temperature of 90°C to mix the new fluid with the old.
Updated on 29 May 2026 by ScegliAuto
Related tutorials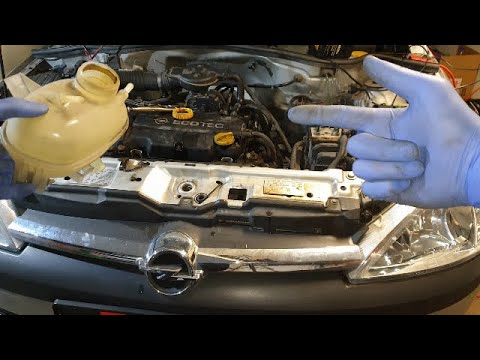
Vauxhall Corsa
(2000-2006 /
Corsa C)
In this video tutorial, you will learn how to replace the coolant and thermostat on the Opel Corsa C, third generation. First, open the bonnet of you…

Vauxhall Corsa
(2006-2014 /
Corsa D)
The steps outlined in this guide will show you how to replace the engine coolant in the Opel Corsa. First, disconnect the radiator coolant hose to dr…

Vauxhall Corsa
(2014-2019 /
Corsa E)
This guide will show you how to check and, if necessary, add coolant to the engine of your Opel Corsa. First, open the bonnet of your car and start u…
Other guides you may be interested in
|
How to Reset the Tyre Light on a Toyota Aygo?
To reset the tyre light on a Toyota Aygo, start by locating the reset button, which is found in the glove compartment of the front passenger side. Turn on the car and ensure that the tyres are at the correct pressure. Then, press and hold the reset button for a few seconds until the tyre light either flashes or turns off, depending on the model. Release the button and wait for the reset procedure to complete. Restart your Toyota Aygo and check if the tyre light has turned off, indicating that the reset was successful. by ScegliAuto More videos
|
For advertising on this site Write to info@scegliauto.com
ScegliAuto is not responsible for any inaccuracy of the data in the lists. To report any inaccuracy or your business (if you own the business in question), please write to info@scegliauto.com
Number of seconds to generate the page: 0.028
(c) ScegliAuto 2026 - info@scegliauto.com - Privacy policy VAT number: IT01247470535 |
