
|
Do it yourself
| |||
| ||||


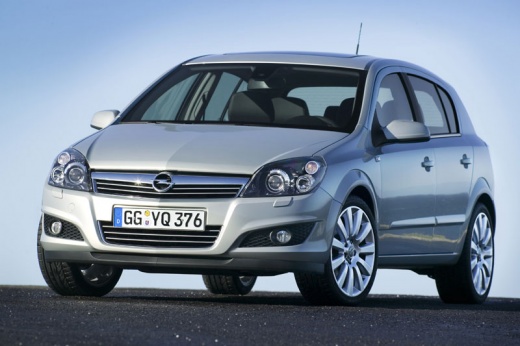
Dismantling Halogen Headlights - Installing Xenon Headlights
Model: Vauxhall Astra
Astra H
- Years:
2004, 2005, 2006, 2007, 2008, 2009, 2010
Video tutorial
In this video, we will illustrate all the steps to install xenon headlights in place of the originals. First, unscrew the panel under the wheel arch. Then, remove the pins and subsequently the rubber grommets that secure the grille. Once the grille is removed, take off the grommets and unclip the bumper by leveraging the tabs. Now proceed to unscrew the headlight screws, and once they are removed, disconnect the electrical connectors. Always check that the replacement is compatible, especially in size and mounting points, with the original. Remove the cover from the back of the headlight and make a slot for the electrical cables. Carefully observe the connection diagram of the headlights. Connect one positive and one negative cable to the headlights. Locate a screw near the headlights to connect the earth cable. Now screw in the new headlight units and reattach the bumper. Then reattach the grille and screw the wheel arch panel back in place. Finally, check the correct operation of the headlights. Car model: Opel Astra H.
Updated on 12 February 2026 by ScegliAuto
Related tutorials
Vauxhall Astra
(1998-2006 /
Astra G)
Time and weather can cloud the plastics of the headlights, partially compromising their effectiveness. To remove the clouded layer, wipe the headligh…

Vauxhall Astra
(2004-2010 /
Astra H)
As shown in this tutorial, replacing the front headlights on the Opel Astra is a very simple operation. Before proceeding, ensure the key is not in t…

Vauxhall Astra
(2009-2016 /
Astra J)
How to replace a damaged bulb inside the front headlamp of the Opel Astra? Here’s how to remove the bulbs from the car's front lights. Remove the ins…
Other guides you may be interested in
|
Where to Find and How to Remove the Spare Wheel of a Peugeot 5008?
The spare wheel of a Peugeot 5008 is located under the rear of the vehicle. To remove it, you need to lift the third row of seats to access the fixing bolt that holds the spare wheel in position. Using the correct spanner, proceed to unscrew the fixing bolt until the wheel is no longer secured. At this point, you can extract the spare wheel from underneath the vehicle. Once you have completed this step, you are free to fit the spare wheel. Ensure you correctly remount the spare wheel and securely tighten the fixing bolt when you are finished. by ScegliAuto More videos
|
|
For advertising on this site Write to info@scegliauto.com
ScegliAuto is not responsible for any inaccuracy of the data in the lists. To report any inaccuracy or your business (if you own the business in question), please write to info@scegliauto.com
Number of seconds to generate the page: 0.044
(c) ScegliAuto 2026 - info@scegliauto.com - Privacy policy VAT number: IT01247470535 |
