
|
Do it yourself
| |||
| ||||


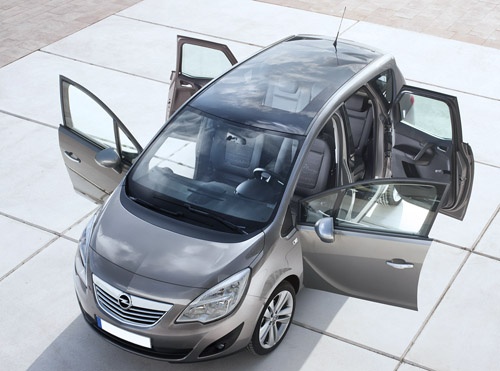
Where to Find the Chassis Number on the Opel Meriva "B"
Model: Vauxhall Meriva
MK 2, Meriva B
- Years 2010-2017
The chassis number displayed on the plate on the driver's side of our vehicle is called the "courtesy chassis number" because it is just a repetition of the chassis number available for anyone who needs to consult it quickly, but it is not the legal stamping, which must be checked by the DVLA for any modifications we may have made to our vehicle, or by authorised workshops when we undergo the biennial MOT of our car. The stamped chassis number is located in a position that varies for each make, model, and version. The Opel Meriva in its "B" version has it under the passenger mat, covered by a plastic tab. Just lift it, and you can read the legal stamping of the vehicle.
Updated on 22 June 2026 by ScegliAuto
This video is currently unavailable
Related tutorials
Vauxhall Meriva
(2010-2017 /
MK 2, Meriva B)
To replace the turn signal relay of the Opel Meriva, we need to open the front hood and release the cover of the fuse box. The fuse box is located ne…

Vauxhall Meriva
(2003-2010 /
Meriva A, MK 1)
If you want to find out where the fuse box of the cabin is located inside your Opel Meriva A, just carefully read the following guide and follow all …

Vauxhall Meriva
(2003-2010 /
Meriva A, MK 1)
If you own a first series Opel Meriva and are wondering where the fuse box containing all the car's fuses is located, then all you have to do is read…
Other guides you may be interested in |
Frequently Asked QuestionsHow to Replace the Battery on a Honda Vision 110
To replace the battery on a Honda Vision 110, you need to remove the front fairing of the motorcycle, located directly under the front headlamp. To loosen this panel, unscrew the two screws found at its top, just below the handlebar. Once these screws are loosened, lever under the panel to detach it, gaining access to the battery underneath: this battery must be removed from its housing by unscrewing the fixing screws and disconnecting the power cables, replacing it with a new one. by ScegliAuto More videos
|
|
For advertising on this site Write to info@scegliauto.com
ScegliAuto is not responsible for any inaccuracy of the data in the lists. To report any inaccuracy or your business (if you own the business in question), please write to info@scegliauto.com
Number of seconds to generate the page: 0.069
(c) ScegliAuto 2026 - info@scegliauto.com - Privacy policy VAT number: IT01247470535 |
