
|
Do it yourself
| |||
| ||||


Where to find the legal chassis number (VIN) on the Opel Insignia MK1
Model: Vauxhall Insigna
Insigna A, MK 1
- Years 2008-2017
In this video, you will see where to find the legal chassis number (VIN) on the Opel Insignia MK1. The legal chassis number is stamped directly on the vehicle's chassis, not the number on the windscreen label (that is a courtesy number, used only for moving vehicles until they have a registration plate) and not the metal plate affixed by the manufacturer on the driver's door frame (that is the vehicle's identifier at the time of production; it includes the engine number and other useful data). The chassis number (which for Opels always starts with WOL) can be found at the hinge of the bonnet, right in the centre.
Updated on 26 July 2026 by ScegliAuto
Video tutorial
Related tutorials
Vauxhall Insigna
(2008-2017 /
Insigna A, MK 1)
In this video we can see the location of the fuse boxes on the Opel Insignia version A: the first box is located in the engine compartment, on the ri…

Vauxhall Insigna
(2008-2017 /
Insigna A, MK 1)
In this video we can see the location and diagram of the fuse boxes of the Opel/Vauxhall Insigna version A: we will find the first one on the left si…
Vauxhall Insigna
(2008-2017 /
Insigna A, MK 1)
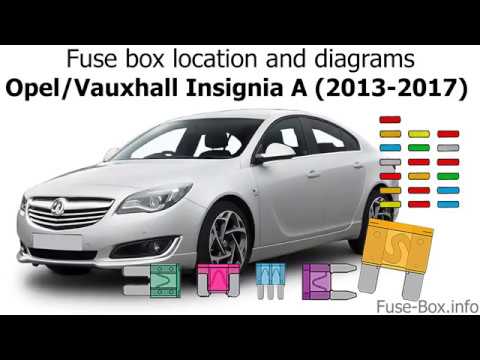
The first fuse box on the Opel Insignia is located in the cabin, specifically low and to the left of the steering wheel, under the side air vent. Her…
Other guides you may be interested in
|
How to Replace the External Wing Mirror on a Ford C MAX
In the event of a breakage, it will be necessary to replace the external wing mirror on the 2011 Ford C MAX. This operation is easily performed independently. Start by removing the internal cover of the mirror with a plastic lever. Then, use a socket wrench to remove the securing pins. Once the pins are removed, you can take off the mirror, but not before disconnecting the power connectors. Then proceed to fit the new mirror. First, connect the connectors and then secure the mirror to its housing with the pins. Refit the plastic cover and test the operation of the electric mirror using the controls. by ScegliAuto More videos
|
|
For advertising on this site Write to info@scegliauto.com
ScegliAuto is not responsible for any inaccuracy of the data in the lists. To report any inaccuracy or your business (if you own the business in question), please write to info@scegliauto.com
Number of seconds to generate the page: 0.225
(c) ScegliAuto 2026 - info@scegliauto.com - Privacy policy VAT number: IT01247470535 |
