
|
Do it yourself
| |||
| ||||


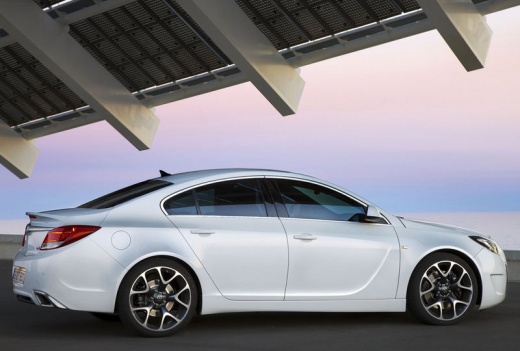
Location and Fuse Diagrams for the Opel Insignia A
Model: Vauxhall Insigna
MK 1, Insigna A
- Years:
2008, 2009, 2010, 2011, 2012, 2013, 2014, 2015, 2016, 2017
Video tutorial
In this video, you can see the location and diagram of the fuse boxes for the Opel/Vauxhall Insignia version A: the first box is on the left side of the steering wheel, at the bottom of the dashboard for left-hand drive models, while for right-hand drive models, it will be inside the glove compartment. Here you will find fuse number 6, which is for the cigarette lighter, number 7 for the power socket, and number 26 for the charging socket. A second box is located in the boot, on the left side, behind a cover. A third box is found in the engine compartment, on the right side of the starter battery, and here you will also find a fuse for the power socket, which is number 35.
Updated on 7 November 2026 by ScegliAuto
Related tutorials
Vauxhall Insigna
(2008-2017 /
MK 1, Insigna A)
In this video, you will see where the fuse boxes are located on the Opel Insignia and their respective diagrams, to consult if you need to replace th…
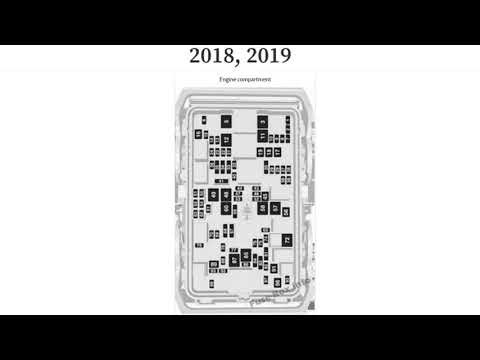
Vauxhall Insigna
(2017-2026 /
MK 2, Insigna B)
In this video, you can see where the fuse boxes are located on the Opel Insignia and the corresponding diagrams, to consult in case you need to check…
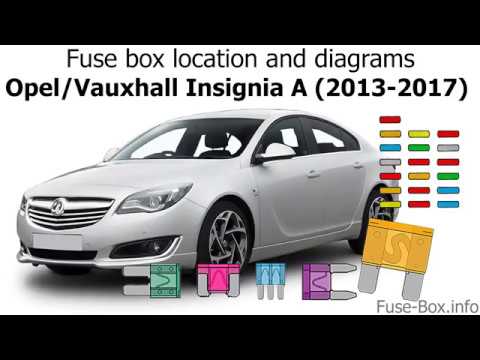
Vauxhall Insigna
(2008-2017 /
MK 1, Insigna A)
The first fuse box on the Opel Insignia is located in the cabin, specifically low and to the left of the steering wheel, under the side air vent. Her…
Other guides you may be interested in
|
How to Remove the Toll Tag Holder from the Car Windscreen
The toll tag holder is usually attached to the car windscreen to ensure that the toll tag functions immediately when passing through barriers. However, if you decide to remove the holder, you should follow this procedure: - Insert the toll tag into the holder; - Pull the holder inwards to detach it from the windscreen; you can use a glass scraper or a stiff plastic card to assist you; After removing the holder, it is essential to remove the adhesive from the windscreen. To remove the adhesive, we recommend using a solvent-based spray that will remove the glue without clouding the area. by ScegliAuto More videos
|
|
For advertising on this site Write to info@scegliauto.com
ScegliAuto is not responsible for any inaccuracy of the data in the lists. To report any inaccuracy or your business (if you own the business in question), please write to info@scegliauto.com
Number of seconds to generate the page: 0.156
(c) ScegliAuto 2026 - info@scegliauto.com - Privacy policy VAT number: IT01247470535 |
