
|
Do it yourself
| |||
| ||||


Disassembly and Cleaning of the EGR Valve
Model: Vauxhall Vectra
Vectra C, MK 3
- Years 2002-2008
Regular cleaning of this valve helps improve emissions. The recirculation of exhaust gases (in internal combustion engines) involves circulating a "small" portion (5-15%) of the exhaust gases from the exhaust manifold to the intake manifold, in order to reduce some of the pollutants present in the exhaust gases. Locate the valve and use a ratchet spanner to remove the securing bolts at its base. Carefully remove the valve from its housing by rotating it back and forth until it comes free. Disconnect the electrical connector. Once extracted, thoroughly clean the inside of the valve with a suitable spray, using a brush and a cloth.
Updated on 2 February 2026 by ScegliAuto
This video is currently unavailable
Related tutorials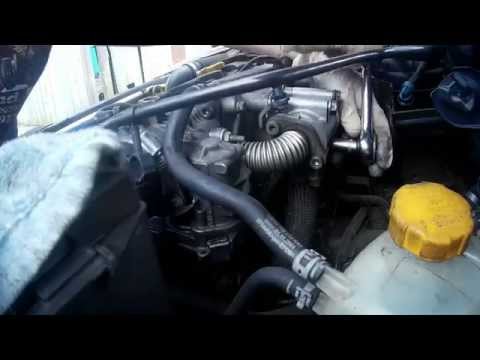
Vauxhall Vectra
(1995-2002 /
Vectra B, MK 2)
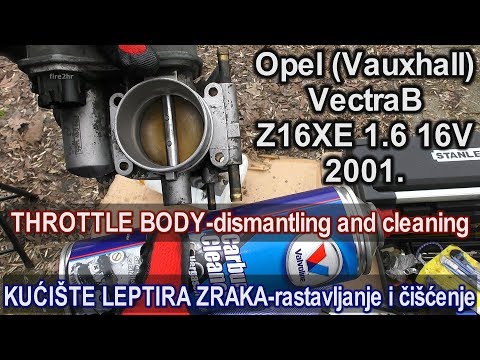
The function of the EGR (Exhaust Gas Recirculation) valve is to reintroduce some exhaust gases into the intake to allow for further combustion and th…
Vauxhall Vectra
(1995-2002 /
Vectra B, MK 2)
Start by depressurising the fuel system which contains fuel under pressure. After that, you can begin disassembly starting from the intake air hose. …

Vauxhall Vectra
(1995-2002 /
Vectra B, MK 2)
Today's main steps will show us how to disassemble the small sofa and the backrests of the rear seats of the Opel Vectra. First, we open the rear doo…
Other guides you may be interested in
|
How to Check the Oil Level on a Jeep Renegade?
To check the oil level on a Jeep Renegade, you need to open the bonnet to access the components inside the engine bay: on the lower left side of the engine block, you will find the dipstick for checking the level. This should be pulled out and thoroughly cleaned with a cloth: once cleaned, reinsert it back into its tube and pull it out immediately after. This way, you can check that the oil mark is between the minimum and maximum levels; finally, you can place the dipstick back in its tube. by ScegliAuto More videos
|
|
For advertising on this site Write to info@scegliauto.com
ScegliAuto is not responsible for any inaccuracy of the data in the lists. To report any inaccuracy or your business (if you own the business in question), please write to info@scegliauto.com
Number of seconds to generate the page: 0.063
(c) ScegliAuto 2026 - info@scegliauto.com - Privacy policy VAT number: IT01247470535 |
