
|
Do it yourself
| |||
| ||||


Dismantling and Cleaning the EGR Valve
Model: Vauxhall Vectra
Vectra B, MK 2
- Years:
1995, 1996, 1997, 1998, 1999, 2000, 2001, 2002
Video tutorial
The function of the EGR (Exhaust Gas Recirculation) valve is to reintroduce some exhaust gases into the intake to allow for further combustion and thus reduce emissions. Contact with exhaust gases, which are often contaminated with oil and unburnt diesel, tends to foul the valve, potentially leading to blockage and compromising engine power delivery. In many cases, excessive fouling can also affect the electric actuator, making cleaning alone insufficient. In any case, the first step is to clean both the valve and the associated ducts. For the vehicle in question, the valve is located at the rear of the engine, near the diesel filter, and dismantling is straightforward: simply unscrew the mounting bolts of the valve and those of the flanges connecting to the exhaust and intake manifold (the throttle body was also removed in the video). Then, separate the actuator from the valve body and perform a thorough cleaning of the latter; repeat the operation on the throttle body and reinstall everything.
Updated on 12 February 2026 by ScegliAuto
Related tutorials
Vauxhall Vectra
(2002-2008 /
Vectra C, MK 3)
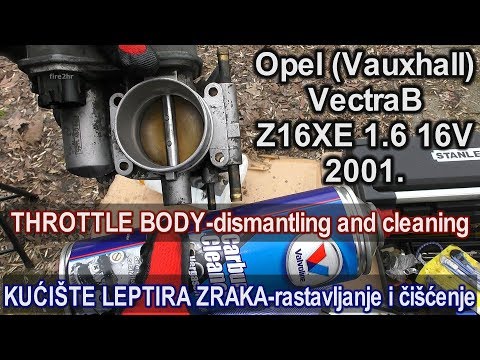
Regular cleaning of this valve helps improve emissions. The recirculation of exhaust gases (in internal combustion engines) involves circulating a "s…
Vauxhall Vectra
(1995-2002 /
Vectra B, MK 2)
Start by depressurising the fuel system which contains fuel under pressure. After that, you can begin disassembly starting from the intake air hose. …
Vauxhall Vectra
(2002-2008 /
Vectra C, MK 3)
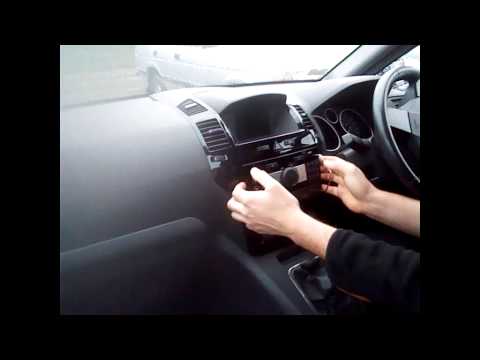
Removing the car radio is extremely simple as long as you have the appropriate extraction keys: these are high-strength steel wires shaped like a "U"…
Other guides you may be interested in
|
How to Reset the Tyre Light on a Toyota Aygo?
To reset the tyre light on a Toyota Aygo, start by locating the reset button, which is found in the glove compartment of the front passenger side. Turn on the car and ensure that the tyres are at the correct pressure. Then, press and hold the reset button for a few seconds until the tyre light either flashes or turns off, depending on the model. Release the button and wait for the reset procedure to complete. Restart your Toyota Aygo and check if the tyre light has turned off, indicating that the reset was successful. by ScegliAuto More videos
|
|
For advertising on this site Write to info@scegliauto.com
ScegliAuto is not responsible for any inaccuracy of the data in the lists. To report any inaccuracy or your business (if you own the business in question), please write to info@scegliauto.com
Number of seconds to generate the page: 0.035
(c) ScegliAuto 2026 - info@scegliauto.com - Privacy policy VAT number: IT01247470535 |
