
|
Do it yourself
| |||
| ||||


Repairing a Bumper Dent
Model: Vauxhall Vectra
Vectra C, MK 3
- Years 2002-2008
Before proceeding with any bodywork repair, it is advisable to wash the area to identify all scratches and dents and assess the type of repair needed. Once you have located the scratch you want to touch up, sand it with fine sandpaper to level imperfections and remove any paint ridges; after sanding, clean thoroughly with a degreaser or thinner to eliminate dust residues, and finally perform the touch-up with a brush: there is a touch-up kit available, which includes a bottle with the original colour and a brush under the cap. Once the paint has dried, you can finish by sanding with wet and dry paper until the paint is matte, and finally polish with a compound.
Updated on 11 February 2026 by ScegliAuto
Video tutorial
Related tutorials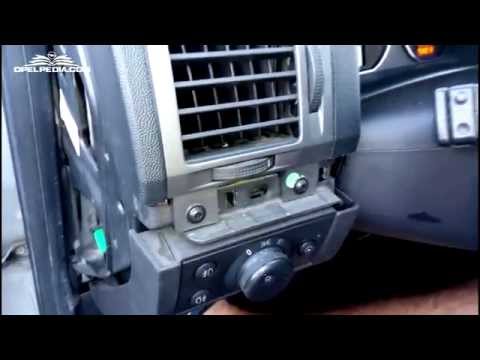
Vauxhall Vectra
(2002-2008 /
Vectra C, MK 3)
To remove the air vent, first remove the side cap of the dashboard, then the trim piece covering the central section of the dashboard; next, unscrew …

Vauxhall Vectra
(2002-2008 /
Vectra C, MK 3)
The following information will guide you on how to remove and replace the front headlamp of the Opel Vectra in simple steps. First, open the bonnet o…

Vauxhall Vectra
(2002-2008 /
Vectra C, MK 3)
Briefly, we will see the steps that will allow us to disassemble and replace the front headlights of the Opel Vectra. First, we open the hood of our …
Other guides you may be interested in
|
How to Open the Fuel Cap of the Volkswagen Jetta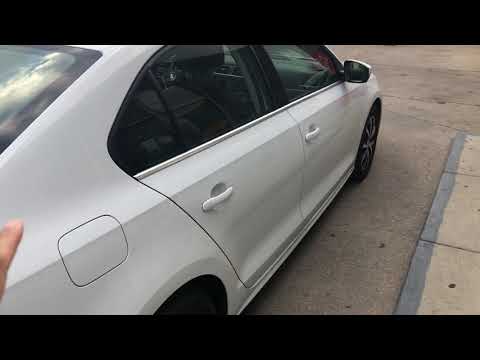
When you need to refuel this vehicle, first open the fuel filler flap. Follow these simple instructions, and you can also watch the video for more details. First, unlock the central locking to open the flaps. Then, press the fuel cap with your hand to unlock it and open it. Underneath, you will find the fuel cap, which you need to unscrew counterclockwise. At this point, you can proceed to refuel. by ScegliAuto More videos
|
|
For advertising on this site Write to info@scegliauto.com
ScegliAuto is not responsible for any inaccuracy of the data in the lists. To report any inaccuracy or your business (if you own the business in question), please write to info@scegliauto.com
Number of seconds to generate the page: 0.131
(c) ScegliAuto 2026 - info@scegliauto.com - Privacy policy VAT number: IT01247470535 |
