
|
Do it yourself
| |||
| ||||


Removing the Oxygen Sensor from the Opel Astra
Model: Vauxhall Astra
Astra G
- Years 1998-2006
Let’s briefly go over the instructions that will allow you to remove and replace the oxygen sensor or lambda probe of the Opel Astra. First, open the bonnet of your car and locate the lambda probe, which is found at the bottom (on the exhaust manifold); then use a 32 mm socket to unscrew and remove it, disconnecting its electrical connector on the opposite side, as shown in the video. At this point, install the new lambda probe, as well as the original one; screw it tightly onto the exhaust manifold to complete the replacement operation!
Updated on 26 August 2026 by ScegliAuto
This video is currently unavailable
Related tutorials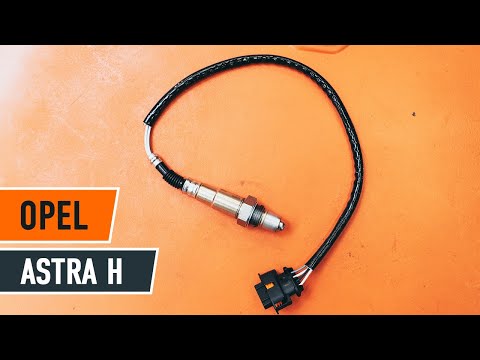
Vauxhall Astra
(2004-2010 /
Astra H)
In this video, you will see how to replace the Lambda sensor on the Opel Astra H version: first, lift the vehicle and support it on two axle stands t…
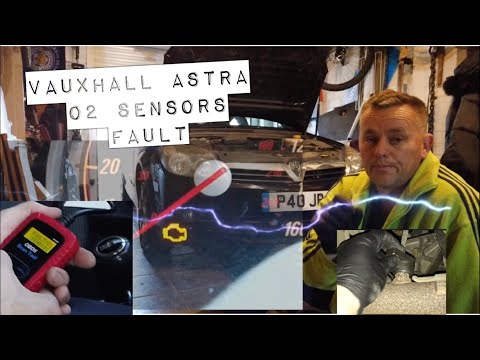
Vauxhall Astra
(2004-2010 /
Astra H)
In this video, you will see how to remove and replace the oxygen sensor, commonly known as the "lambda sensor", on an Opel Astra H. First, open the b…

Vauxhall Astra
(2009-2016 /
Astra J)
Error code 89 on an Opel Astra model J vehicle indicates that the fuel pressure sensor is not functioning correctly and therefore needs to be replace…
Other guides you may be interested in
|
How to Check the Oil Level on a Jeep Renegade?
To check the oil level on a Jeep Renegade, you need to open the bonnet to access the components inside the engine bay: on the lower left side of the engine block, you will find the dipstick for checking the level. This should be pulled out and thoroughly cleaned with a cloth: once cleaned, reinsert it back into its tube and pull it out immediately after. This way, you can check that the oil mark is between the minimum and maximum levels; finally, you can place the dipstick back in its tube. by ScegliAuto More videos
|
|
For advertising on this site Write to info@scegliauto.com
ScegliAuto is not responsible for any inaccuracy of the data in the lists. To report any inaccuracy or your business (if you own the business in question), please write to info@scegliauto.com
Number of seconds to generate the page: 0.058
(c) ScegliAuto 2026 - info@scegliauto.com - Privacy policy VAT number: IT01247470535 |
