
|
Do it yourself
| |||
| ||||


Peugeot 206 - Video tutorial
Model: Peugeot 206
MK 1
- Years 1998-2012 Does the front bumper of the Peugeot 206 need to be changed? Let's see how to remove the bumper. Let's lift the bonnet and put it in safety. We remove the trim above the front bumper (we remove the rivets), we unscrew the screws of the front bezel. With a cordless screwdriver we unscrew the locking pins located in the upper part of the bumper. We disassemble the headlights. We unscrew the pins of the stone guards and remove the pins located in the lower part of the bumper. We remove the bumper from the car body by hand. To proceed with the assembly, let's fix the bumper on the car body with our hands and proceed to tighten all the screws both around the stone guard and around its perimeter. We mount the headlights and the mask.
Posted on 4 December 2023 by ScegliAuto
 How to remove the front bumper of the Peugeot 206
Peugeot 206 (1998-2012 / MK 1) These brief instructions will guide us through the process of disassembling and replacing the front bumper of the Peugeot 206. First, we open the hoo 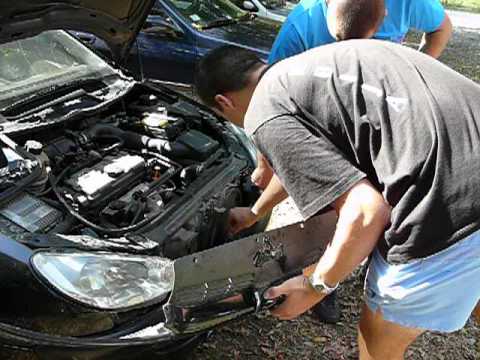 Removal of the grille of a Peugeot 206
Peugeot 206 (1998-2012 / MK 1) Removing the grille of a Peugeot 206? Let's see how the front bumper is removed from above. We unscrew the tightening screws placed above the grille 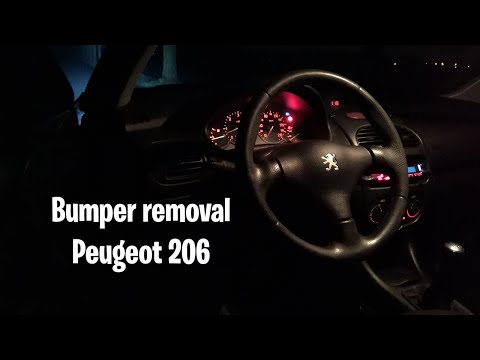 How to remove the front bumper in the Peugeot 206?
Peugeot 206 (1998-2012 / MK 1) In this tutorial we can see how to remove the front bumper in the Peugeot 206. For this simple operation we need: a 10mm socket wrench, a T20 Torx wr Other guides that may interest you
|
How do you open the fuel flap of the Volkswagen Golf 5?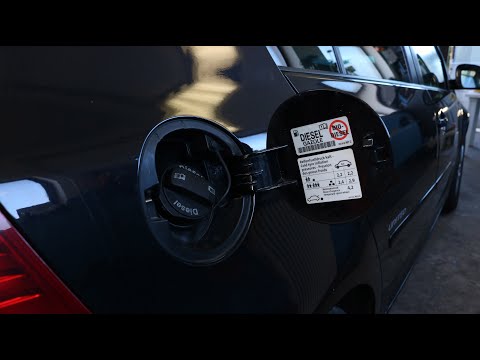
In order to open the fuel flap of the Volkswagen Golf 5, you need to press the appropriate button inside the passenger compartment, which is located in the rear part of the glove box on the driver's door. By pressing the button, the flap will unlock and it will then be possible to open it manually. Once the flap has been opened, the fuel tank access cap must be unscrewed. To close everything again, it will be sufficient to screw the tank cap again; subsequently, the flap must also be closed, pressing it so that it fits thanks to its locking mechanism. by ScegliAuto More videos
|
|
For advertising on this site Write to info@scegliauto.com
ScegliAuto is not responsible for any inaccuracy of the data in the lists. To report any inaccuracy or your business (if you own the business in question), please write to info@scegliauto.com
Number of seconds to generate the page: 0.053
(c) ScegliAuto 2024 - info@scegliauto.com - Privacy Policy VAT number: IT01247470535 |