
|
Do it yourself
| |||
| ||||


Peugeot 208 headlight bulb replacement
Model: Peugeot 208
MK 1, A9
- Years 2012-2019 Replace the headlight bulb? Let's see how to replace the bulb from inside the headlight of a Peugeot 208. We open the hood of the engine compartment, remove the cover cap of the headlight with a screwdriver. We detach the lamp holder from its housing once the cover cap has been removed (we remove the power supply bulbs). We replace the damaged bulbs with new ones (same size and voltage). We mount the tightening cap after connecting the lamp holders inside the headlight. We operate the control levers to turn on the lights of the car 208 and see if the new bulbs work.
Posted on 17 December 2023 by ScegliAuto
 How do you replace the front headlight bulb of the Peugeot 208?
Peugeot 208 (2012-2019 / MK 1, A9) In order to replace the headlight bulb of the Peugeot 208, you need to open the hood so that you can locate the inner covering panel of the optical g 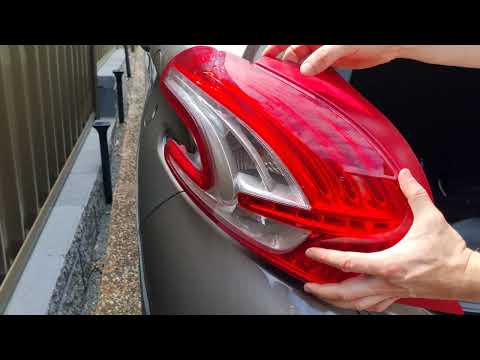 How do you replace the rear headlight bulb of the Peugeot 208?
Peugeot 208 (2012-2019 / MK 1, A9) In order to replace the rear headlight bulb of the Peugeot 208, you need to open the hood so that you can detach the plastic panel on the side of the  How do you replace the rear headlight bulb of the Peugeot 208?
Peugeot 208 (2012-2019 / MK 1, A9) In order to replace the rear headlight bulb of the Peugeot 208, you need to open the rear hatch to locate the side panel of the trunk: this can be co Other guides that may interest you
|
How to deactivate the safe lock on a Volkswagen Golf.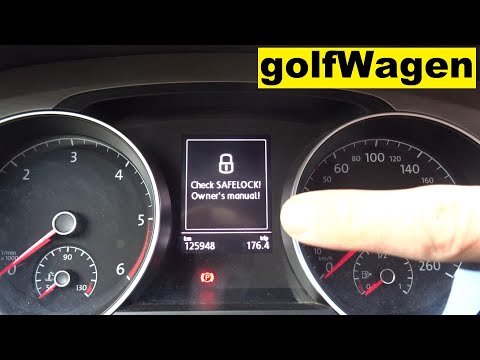
The safe lock is indeed an anti-theft system that prevents thieves from accessing the car. This device locks the doors, both externally and internally, when the driver activates the central locking remote control after leaving the vehicle. To permanently disable it, it is necessary to use a diagnostic program such as VCDS that we will connect to the vehicle through the ODBII port. Then wait for the connection and recognition of the control unit and then select the blocks present and locate the safe lock to disable it. And the job will be completed. by ScegliAuto More videos
|
|
For advertising on this site Write to info@scegliauto.com
ScegliAuto is not responsible for any inaccuracy of the data in the lists. To report any inaccuracy or your business (if you own the business in question), please write to info@scegliauto.com
Number of seconds to generate the page: 0.090
(c) ScegliAuto 2024 - info@scegliauto.com - Privacy Policy VAT number: IT01247470535 |