
|
Do it yourself
| |||
| ||||


How to Replace the Rear Brake Pads on a Peugeot 206
Model: Peugeot 206
MK 1
- Years:
1998, 1999, 2000, 2001, 2002, 2003, 2004, 2005, 2006, 2007, 2008, 2009
Video tutorial
In this video tutorial, you will see how to replace the rear brake pads on a Peugeot 206. The first thing to do is to purchase quality brake pads from an authorised dealer. The next step is to lift the car with a hydraulic jack and place safety stands underneath. Remove the wheel by unscrewing the bolts. After removing the wheel, unscrew the cap of the brake fluid reservoir, check the level, and leave it unscrewed to make it easier to retract the piston. Use a screwdriver to lever between the pad and the piston, pulling back to retract the piston and free the brake pads. Using a 13mm spanner, unscrew the bolt of the brake caliper; once the bolt is removed, lift the caliper to remove the pads using a screwdriver as leverage. Now clean the supports with a wire brush. Install the new pads in place with their respective clips. Finally, lower the cover and refit the bolt.
Updated on 5 August 2026 by ScegliAuto
Related tutorials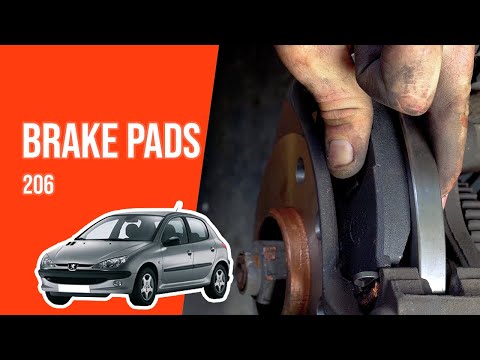
Peugeot 206
(1998-2012 /
MK 1)
In today's video tutorial, you will learn how to remove and replace the front brake pads on the Peugeot 206 in simple steps. First, lift the vehicle …

Peugeot 206
(1998-2012 /
MK 1)
How to remove and replace the front brake pads and disc of a Peugeot 206? Position your car on a column lift and raise it to a comfortable height. Us…

Peugeot 206
(1998-2012 /
MK 1)
On the Peugeot 206 we have a mixed braking system, with discs at the front and drums at the rear, so let's see how to replace them. We open the brake…
Other guides you may be interested in
|
How to Open the Hood of the BMW X3
Today, you will learn how to open and close the hood of the BMW X3. To perform this simple operation, lift the hood release lever located next to the door seal on the driver’s side. After pulling the lever, you will notice that the hood will lift slightly. Position yourself in front of the hood and lift it after moving the internal lever from left to right. To keep the hood secure during maintenance, use the side support rod. To close the hood, simply let it fall back into place. by ScegliAuto More videos
|
|
For advertising on this site Write to info@scegliauto.com
ScegliAuto is not responsible for any inaccuracy of the data in the lists. To report any inaccuracy or your business (if you own the business in question), please write to info@scegliauto.com
Number of seconds to generate the page: 0.039
(c) ScegliAuto 2026 - info@scegliauto.com - Privacy policy VAT number: IT01247470535 |
