
|
Do it yourself
| |||
| ||||


|
Model: Piaggio Vespa Px 125
To disassemble the instrument panel of a Vespa PX 125, you need to follow a few steps. First, remove the mirrors from the front of the handlebars. This is usually done by unscrewing the fixing screws that hold them in place. Once the mirrors have been removed, you can access the screws that secure the instrument panel to the handlebars. Unscrew them carefully using the right tool. Once the screws have been removed, the instrument panel can be gently dislodged and removed from its housing on the handlebars. Make sure to pay attention to details during this operation to avoid damaging the instrument panel or wiring. Once the instrument panel has been removed, you will find an electrical connector that connects it to the Vespa's electrical system. Carefully disconnect this connector, making sure not to damage the wires or terminals. Now the instrument panel is completely removed and you can proceed with any necessary repairs or maintenance.
Posted on 18 December 2024 by ScegliAuto
Video tutorial
Related tutorials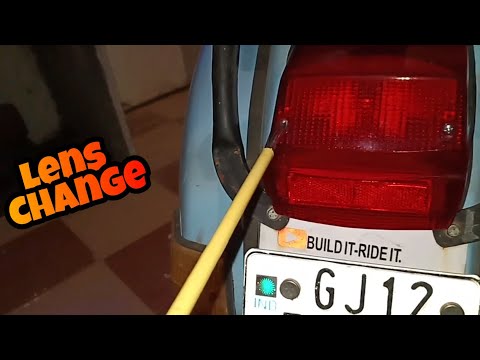
Vespa Px 125
Before you can start, position your Vespa 125 PX on the centre stand. Begin by unscrewing and removing the screws that secure the rear light to the f…

Vespa Px 125
Follow the instructions below to remove the carburettor from the Piaggio Vespa PX 125, as well as the PX 200. First, put the central stand down and s…

Vespa Px 125
This brief guide outlines the steps to remove and replace the rear suspension on a Piaggio Vespa PX 125, as well as on an Lml Star 125. First, place …
|
How to Replace the Battery in a Yamaha Vino 125 Scooter?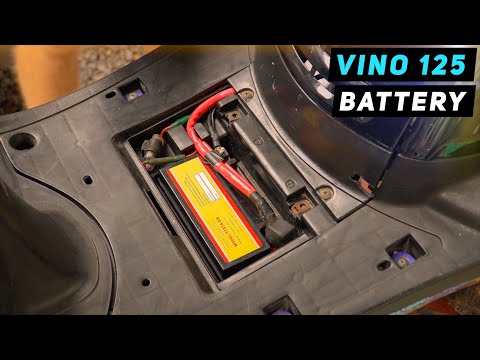
In this tutorial, you will see how to replace the battery in a Yamaha Vino 125 scooter, a very simple and quick operation. First, ensure that the key is not inserted for safety. Then, lift the rubber mat and, using a simple cross-head screwdriver, unscrew the two screws securing the plastic cover. Once opened, disconnect both terminals, starting with the negative, and remove the battery from its housing. To fit the replacement, simply follow the reverse procedure. by ScegliAuto More videos
|
|
For advertising on this site Write to info@scegliauto.com
ScegliAuto is not responsible for any inaccuracy of the data in the lists. To report any inaccuracy or your business (if you own the business in question), please write to info@scegliauto.com
Number of seconds to generate the page: 0.007
(c) ScegliAuto 2026 - info@scegliauto.com - Privacy policy VAT number: IT01247470535 |
