
|
Do it yourself
| |||
| ||||


Model: Piaggio Si
As always, before proceeding with the replacement of the kickstand on a Piaggio Si or any other mechanical maintenance operation, it is advisable to secure the scooter in a stable and safe position to work on it safely. As seen in the images, the kickstand is fixed to the frame by a pin that is secured at both ends by two circlips. To remove the kickstand, you must first remove the pin. Start by removing the circlip on the exhaust side (if you want to make the job easier, it is better to remove that as well). Now, remove the circlip from the other side. Extract the pin from its housing, and you can then remove the kickstand. Proceed with the replacement using the new one. Position the spring in the same way it was positioned with the old kickstand. Place the scooter on the ground, on its right side. Insert the pin to secure the kickstand and the springs in position. Finally, secure the pin with the two circlips (first on the exhaust side) and attach the ends of the springs to the kickstand, and you're done!
Updated on 12 March 2026 by ScegliAuto
Video tutorial
Related tutorials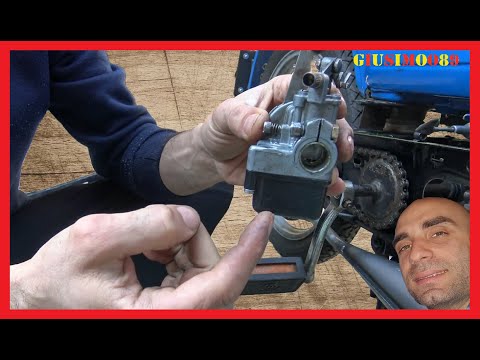
Si
This guide shows you how to remove and replace the carburettor on the Piaggio Si, as well as on the Ciao, Bravo, and Garelli. First, place the motorc…

Si
Today's guide shows how to remove and replace the rear wheel and its hub on the Piaggio Si, following the instructions below. First, unscrew the fast…

Si
To replace the clutch on a Piaggio Si, loosen the screws securing the transmission casing: this is located near the rear wheel, on its left side. Onc…
|
How to Replace and Install the Front Wheel on a Beta RR 300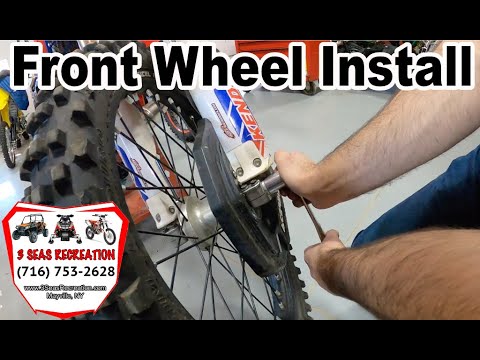
Today, we will go through the instructions to install or replace the front wheel on the Beta RR 300 enduro bike by following these simple steps. First, place your bike on a stand and lift the front wheel off the ground. Next, unscrew the fixing bolts of the front brake caliper to remove it. At this point, unscrew the central axle of the wheel, removing and possibly replacing the tyre. Then, tighten the fork nuts and reassemble everything by reversing the disassembly procedure! by ScegliAuto More videos
|
|
For advertising on this site Write to info@scegliauto.com
ScegliAuto is not responsible for any inaccuracy of the data in the lists. To report any inaccuracy or your business (if you own the business in question), please write to info@scegliauto.com
Number of seconds to generate the page: 0.076
(c) ScegliAuto 2026 - info@scegliauto.com - Privacy policy VAT number: IT01247470535 |
