
|
Do it yourself
| |||
| ||||


How to remove the door panel of a Renault Koleos?
Model: Renault Koleos
MK 1
- Years 2008-2015
To disassemble the door panel of a Renault Koleos, start by lowering the window completely and turning off the engine. Locate all the screws that secure the panel to the door; they are usually behind the inner handles and under plastic covers. Use a screwdriver to remove these screws. Next, use a plastic tool to gently pry around the perimeter of the panel to release the plastic clips that hold it in place. Once the clips are released, lift the panel upwards to disengage it from the window edge. Be careful not to damage the electrical connections that connect the panel to the door controls. Carefully disconnect these connectors to fully remove the panel. Now you can access the inside of the door for any repairs or replacements. To reassemble the panel, follow the steps in reverse order, making sure all electrical connectors are properly reconnected and that the clips and screws are securely fastened.
Posted on 11 February 2025 by ScegliAuto
Video tutorial
Related tutorials
Renault Koleos
(2008-2015 /
MK 1)
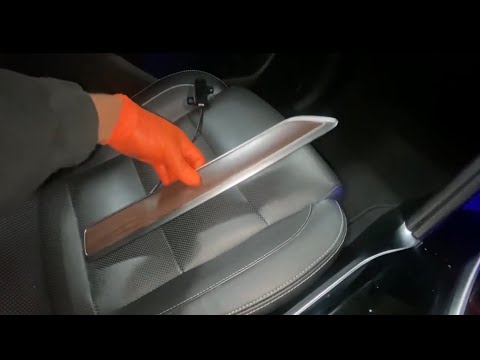
Today we will discover the main steps to remove and replace the door panel and its internal parts of the Renault Koleos. First, open the front door o…
Renault Koleos
(2016-2024 /
MK 2)
This guide provides instructions on how to remove and replace the front door panel of the Renault Koleos, as well as the Samsung QM5. First, open the…
Renault Koleos
(2016-2024 /
MK 2)
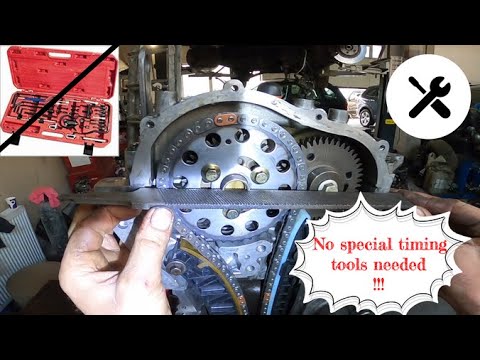
To adjust the timing chain on a Renault Koleos, access the side of the engine block by removing the protective panel under which the timing chain is …
Other guides you may be interested in
|
How to Replace the Battery on a Honda Vision 110
To replace the battery on a Honda Vision 110, you need to remove the front fairing of the motorcycle, located directly under the front headlamp. To loosen this panel, unscrew the two screws found at its top, just below the handlebar. Once these screws are loosened, lever under the panel to detach it, gaining access to the battery underneath: this battery must be removed from its housing by unscrewing the fixing screws and disconnecting the power cables, replacing it with a new one. by ScegliAuto More videos
|

|
For advertising on this site Write to info@scegliauto.com
ScegliAuto is not responsible for any inaccuracy of the data in the lists. To report any inaccuracy or your business (if you own the business in question), please write to info@scegliauto.com
Number of seconds to generate the page: 0.267
(c) ScegliAuto 2026 - info@scegliauto.com - Privacy policy VAT number: IT01247470535 |
