
|
Do it yourself
| |||
| ||||


How is the gearbox of a Renault Megane II made inside?
Model: Renault Megane
Megane 2
- Years 2002-2010
Let's see how the gear shift is made on a Renault Megane II: pull back the armrest and remove the front part which is just snapped in; then remove the cover of the center console, also snapped in. Remove the gear shift boot and then pull the knob; the boot will also come off. Then remove the front part of the console, which will allow us to remove the part around the lever; there are screws, but most of it is snapped in. Pay attention to the electrical connector of the cigarette lighter. Now the metal part is exposed, where we find four bolts; once removed, we will release the clips on the sides, and the selector goes down, towards the bottom of the car. However, to remove it, we will have to move the exhaust pipes. Now let's disassemble the selector, removing the cover screws, release the cables by removing the retaining clips and see how the gear shift is made inside. If desired, we can also change the selector lever.
Posted on 20 March 2025 by ScegliAuto
Video tutorial
Related tutorials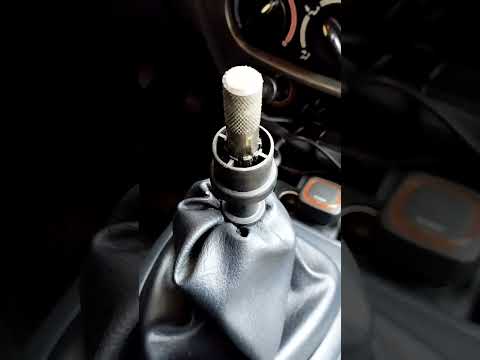
Renault Megane
(1995-2003 /
Megane 1)
Removing and replacing the gear knob on the Renault Megane is a very simple operation. First, get inside the vehicle and pull the gear knob upwards w…

Renault Megane
(2008-2015 /
Megane III, Megane 3)
The replacement of the gear knob located inside the cabin of your Renault Megane third series is a very simple task that anyone can do. In the follow…

Renault Megane
(2015-2023 /
Megane 4, Megane IV)
In this video tutorial, see how to change the automatic gear knob on a Renault Megane 4. The first thing to do is buy a new gear knob, then get insid…
Other guides you may be interested in
|
How to Check the Oil Level on a Jeep Renegade?
To check the oil level on a Jeep Renegade, you need to open the bonnet to access the components inside the engine bay: on the lower left side of the engine block, you will find the dipstick for checking the level. This should be pulled out and thoroughly cleaned with a cloth: once cleaned, reinsert it back into its tube and pull it out immediately after. This way, you can check that the oil mark is between the minimum and maximum levels; finally, you can place the dipstick back in its tube. by ScegliAuto More videos
|
|
For advertising on this site Write to info@scegliauto.com
ScegliAuto is not responsible for any inaccuracy of the data in the lists. To report any inaccuracy or your business (if you own the business in question), please write to info@scegliauto.com
Number of seconds to generate the page: 0.243
(c) ScegliAuto 2026 - info@scegliauto.com - Privacy policy VAT number: IT01247470535 |
