
|
Do it yourself
| |||
| ||||


EGR valve replacement on a Renault Clio III 1.5 Dci
Model: Renault Clio
MK 3, Clio 3, Clio III
- Years 2005-2013
In this video we see how to replace the EGR valve of a Renault Clio III: we open the hood; the valve is located immediately behind the engine block. A malfunction of this component can cause power loss, injection problems, and warning lights to come on. We need to use a thin flat screwdriver to insert it into the slot in the connector and lift it to disconnect it. We will then remove the three screws holding it in place: it may require some force to remove it. We will also remove the duct to clean it and ensure a longer life for the new valve. We will remove the black support that secures it to the engine. Once cleaned and put back in place, we position the new valve, of which we will have noted the code in case reprogramming is needed. We put back the three screws and the connector, the engine cover, and the operation is complete.
Posted on 25 March 2025 by ScegliAuto
Video tutorial
Related tutorials
Renault Clio
(2005-2013 /
MK 3, Clio 3, Clio III)
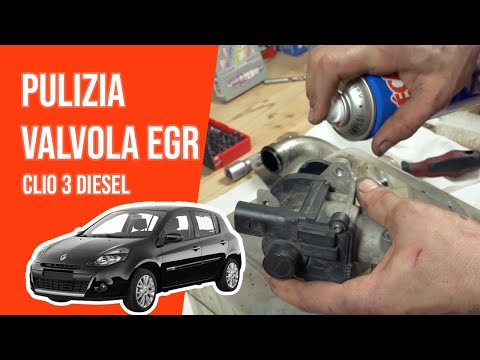
The EGR valve on the Clio III 1.5 dCi tends to clog with carbon, causing a loss of power and engine warning light. To clean it, remove the intake man…
Renault Clio
(2005-2013 /
MK 3, Clio 3, Clio III)
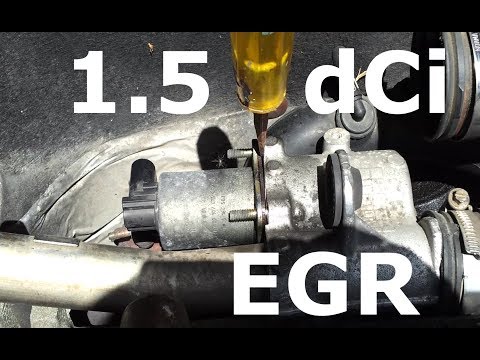
As shown in the video, open the engine bay of your Renault Clio 3 1.5 dCi and remove the engine cover. At this point, you will see the EGR valve conn…
Renault Clio
(2005-2013 /
MK 3, Clio 3, Clio III)
How to remove the EGR valve on a Renault Clio? Lift the bonnet and secure it; using a screwdriver, unscrew the locking pins of the ventilation pipe a…
Other guides you may be interested in
|
How to Repair the Key Spring of the Peugeot 207?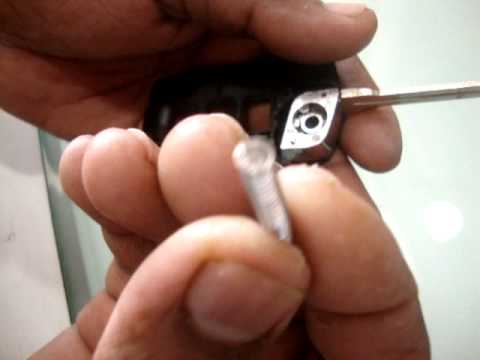
Over time, frequent use of the key's flip mechanism in the vehicle, dozens of times a day, inevitably leads to wear of the internal spring. As shown in this video, replacing the spring is quite simple and takes little time. After opening the casing halfway, first position the key, then the spring housing, and finally insert the spring into the previously mentioned housing. Close the casing by rotating it clockwise, ensuring all components fit perfectly, and test the key's flip mechanism. by ScegliAuto More videos
|

|
For advertising on this site Write to info@scegliauto.com
ScegliAuto is not responsible for any inaccuracy of the data in the lists. To report any inaccuracy or your business (if you own the business in question), please write to info@scegliauto.com
Number of seconds to generate the page: 0.149
(c) ScegliAuto 2026 - info@scegliauto.com - Privacy policy VAT number: IT01247470535 |
