
|
Do it yourself
| |||
| ||||


How to replace the rear shock absorbers of the Renault Kangoo
Model: Renault Kangoo
MK 2, FC, FW
- Years 2007-2021
To replace the rear shock absorbers of the Renault Kangoo 2, we need to lift the rear part of the vehicle and remove the wheel in order to access the suspension system. Using a 21 mm socket wrench, we unscrew the upper mounting bolts, holding the nut in place with a 21 mm wrench. Using a 21 mm socket wrench, we unscrew the lower mounting bolts, using a jack to loosen the tension of the bolt. We then completely remove the upper bolt in order to remove the shock absorber. We press vertically on the shock absorber rod before inserting it to separate the liquid part from the gas part. We insert the shock absorber and tighten the upper and lower bolts with a torque wrench. We proceed in the same way for the right shock absorber. We insert the wheel and lower the vehicle back to the ground.
Posted on 27 April 2025 by ScegliAuto
Video tutorial
Related tutorials
Renault Kangoo
(2007-2021 /
MK 2, FC, FW)
In order to remove the rear bumper of the Renault Kangoo, you need to open the rear hatch so that you can locate and loosen the screws that secure th…
Renault Kangoo
(1997-2008 /
MK 1, KC, KW)
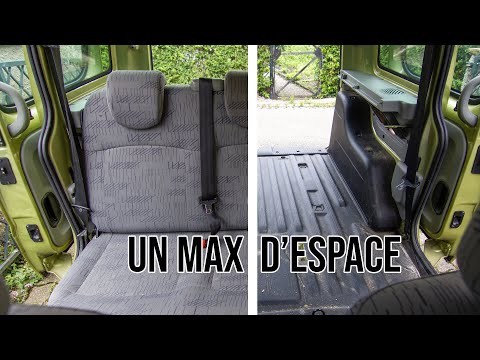
Here are the step-by-step instructions to remove the rear seat of the Renault Kangoo in simple and quick steps. First, open the rear doors and start …

Renault Kangoo
(1997-2008 /
MK 1, KC, KW)
In order to replace the rear headlight bulb of the Renault Kangoo, you will need to open the rear tailgate so that you can access the components loca…
Other guides you may be interested in
|
How to Replace the Battery on a Honda Vision 110
To replace the battery on a Honda Vision 110, you need to remove the front fairing of the motorcycle, located directly under the front headlamp. To loosen this panel, unscrew the two screws found at its top, just below the handlebar. Once these screws are loosened, lever under the panel to detach it, gaining access to the battery underneath: this battery must be removed from its housing by unscrewing the fixing screws and disconnecting the power cables, replacing it with a new one. by ScegliAuto More videos
|
|
For advertising on this site Write to info@scegliauto.com
ScegliAuto is not responsible for any inaccuracy of the data in the lists. To report any inaccuracy or your business (if you own the business in question), please write to info@scegliauto.com
Number of seconds to generate the page: 0.112
(c) ScegliAuto 2026 - info@scegliauto.com - Privacy policy VAT number: IT01247470535 |
