
|
Do it yourself
| |||
| ||||


Disassembly of the car radio of a Renault Kangoo II and installation of an Android radio
Model: Renault Kangoo
MK 2, FC, FW
- Years 2007-2021
In this video, we see how to disassemble the display and radio of a Renault Kangoo II and then replace them with a new radio and Android screen. The screen is easily removed by levering on the sides with plastic spatulas and removing the frame. Then there are four fixing screws and the display comes off. As for the radio, special keys will be needed, which can be easily found online, for example on Amazon with the code B06XVZNFC6 at a price of 7.29 euros, free delivery for Prime customers. By inserting these keys into the appropriate holes, we remove the radio, disconnect all the connectors, and replace it with the new radio: we do not give purchasing recommendations, as there are so many options available for all tastes and budgets that our recommendation seems unnecessary. Now it's time to reconnect the screen and put the frame back in place. Let's enjoy the result now.
Posted on 18 June 2025 by ScegliAuto
Video tutorial
Related tutorials
Renault Kangoo
(2007-2021 /
MK 2, FC, FW)
In this short video, you will see the main instructions to unlock the standard radio in the second generation Renault Kangoo. To unlock the radio, yo…
Renault Kangoo
(2007-2021 /
MK 2, FC, FW)
Today, you will learn how to enter the radio code for a Renault Kangoo 2. First, turn on the instrument cluster and the vehicle's radio. Next, obtain…
Renault Kangoo
(1997-2008 /
MK 1, KC, KW)
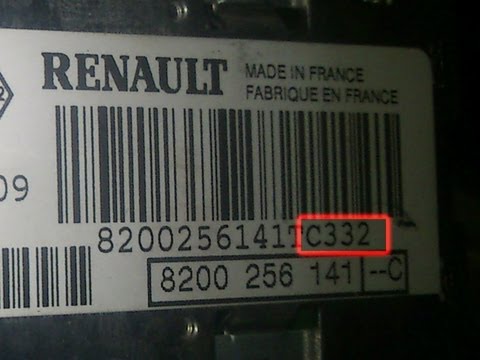
To obtain the unlock code for the Renault Kangoo radio, remove the device from its housing. Insert the release keys into the four holes located at th…
Other guides you may be interested in
|
How to Check the Oil Level on a Jeep Renegade?
To check the oil level on a Jeep Renegade, you need to open the bonnet to access the components inside the engine bay: on the lower left side of the engine block, you will find the dipstick for checking the level. This should be pulled out and thoroughly cleaned with a cloth: once cleaned, reinsert it back into its tube and pull it out immediately after. This way, you can check that the oil mark is between the minimum and maximum levels; finally, you can place the dipstick back in its tube. by ScegliAuto More videos
|
|
For advertising on this site Write to info@scegliauto.com
ScegliAuto is not responsible for any inaccuracy of the data in the lists. To report any inaccuracy or your business (if you own the business in question), please write to info@scegliauto.com
Number of seconds to generate the page: 0.289
(c) ScegliAuto 2026 - info@scegliauto.com - Privacy policy VAT number: IT01247470535 |
