
|
Do it yourself
| |||
| ||||



Renault Clio 4: diagram and arrangement of fuses in the passenger compartment fuse box.
Model: Renault Clio
Clio IV, Clio 4, MK 4
- Years:
2012, 2013, 2014, 2015, 2016, 2017, 2018, 2019
Video tutorial
To navigate the fuse diagram of the Renault Clio 4, it is useful to carefully observe the fuse box in the cabin. The video shows the complete block, with all the rows of mini fuses and the relays located at the bottom, providing a clear view of the actual layout. The various rows are occupied by fuses of different amperages, identifiable by their color and the number printed on the top; a specific slot is particularly highlighted, which can be used as a reference to count the positions. Working with the ignition off and the battery disconnected, one can compare the layout shown with the diagram provided in the user manual or the vehicle's technical documentation: this way, you can accurately identify which fuse protects the circuit of interest (for example, lights, cigarette lighter socket, windshield wipers). After identifying the correct position, it is possible to remove the fuse using the designated tweezers, check its condition, and replace it with one of the same amperage, using the layout of the Clio 4 fuse box as a practical guide to avoid mistakes.
Posted on 27 November 2025 by ScegliAuto
Related tutorials
Renault Clio
(2005-2013 /
Clio 3, MK 3, Clio III)
The attached video shows the complete fuse diagram for our Renault Clio. The fuses protect the electrical components of our van from short circuits a…

Renault Clio
(2012-2019 /
Clio IV, Clio 4, MK 4)
Briefly, we will see the instructions that allow us to access the internal fuse box of the Renault Clio and find the fuse diagram. First, open the dr…
Renault Clio
(2005-2013 /
Clio 3, MK 3, Clio III)
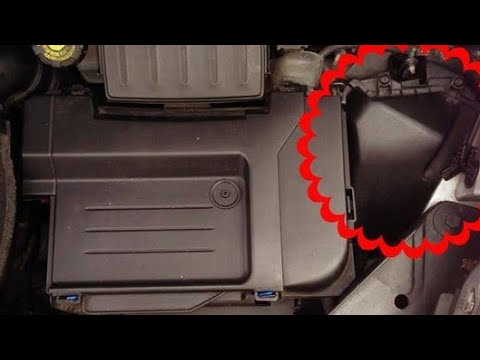
Let's briefly review the instructions that will help you identify the diagram and positioning of the external fuses for the Renault Clio. First, open…
Other guides you may be interested in
|
Frequently Asked QuestionsHow to Open the Hood of the BMW X3
Today, you will learn how to open and close the hood of the BMW X3. To perform this simple operation, lift the hood release lever located next to the door seal on the driver’s side. After pulling the lever, you will notice that the hood will lift slightly. Position yourself in front of the hood and lift it after moving the internal lever from left to right. To keep the hood secure during maintenance, use the side support rod. To close the hood, simply let it fall back into place. by ScegliAuto More videos
|
|
For advertising on this site Write to info@scegliauto.com
ScegliAuto is not responsible for any inaccuracy of the data in the lists. To report any inaccuracy or your business (if you own the business in question), please write to info@scegliauto.com
Number of seconds to generate the page: 0.168
(c) ScegliAuto 2026 - info@scegliauto.com - Privacy policy VAT number: IT01247470535 |
