
|
Do it yourself
| |||
| ||||


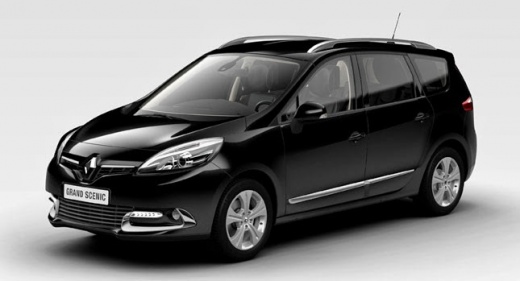
How to replace the air conditioning panel on the Renault Scenic III
Model: Renault Scenic
MK III, Scenic III, Scenic 3, MK 3
- Years:
2009, 2010, 2011, 2012, 2013, 2014, 2015
Video tutorial
In this video, we can see how to replace the air conditioning panel on the Renault Scenic III: we start by prying around the chrome trim of the gear shift, and we do the same with the one around the radio, as it blocks the air conditioning control panel. At this point, we can remove the two screws located on the sides of the air conditioning panel, after which we can disconnect the electrical connectors located on the back of the panel. At the bottom of the console, we have a cup holder that is simply clipped in, which we can easily pull out, and underneath we find the EOBD diagnostic port. We also easily remove the central console located at the height of the gear shift, and here too there are several electrical connectors to disconnect: now it's time for the base, which is also entirely clipped in except for two screws located near the gear shift lever. To remove the console, there are screws at the back (otherwise it wouldn't be hanging) and at the front, from where we removed the control panel.
Posted on 26 January 2026 by ScegliAuto
Related tutorials
Renault Scenic
(2009-2015 /
MK III, Scenic III, Scenic 3, MK 3)
In order to change the air conditioning mode, you will first need to turn on the instrument panel by inserting the ignition key into the correspondin…

Renault Scenic
(2009-2015 /
MK III, Scenic III, Scenic 3, MK 3)
To replace the fuel flap of the Renault Scenic, you need to loosen the screws that secure the corresponding panel located on the right side of the tr…

Renault Scenic
(2009-2015 /
MK III, Scenic III, Scenic 3, MK 3)
To ensure clean air circulation in the air conditioning system of the Renault Scenic, you must periodically replace the dedicated filter. Position yo…
Other guides you may be interested in
|
How to open the bonnet on a Volkswagen Golf?
In this tutorial, you will see how to open the bonnet on a Volkswagen Golf MK4. This is a very simple operation that follows the standard procedure. First, open the driver's door, then locate the lever in the lower left area and pull it. Next, move to the front of the vehicle, lift the bonnet slightly, and find the second lever located just above the Volkswagen logo. At this point, simply pull it towards you, fully open the bonnet, and secure it with the prop rod. To close it, gently push it down. by ScegliAuto More videos
|
|
For advertising on this site Write to info@scegliauto.com
ScegliAuto is not responsible for any inaccuracy of the data in the lists. To report any inaccuracy or your business (if you own the business in question), please write to info@scegliauto.com
Number of seconds to generate the page: 0.018
(c) ScegliAuto 2026 - info@scegliauto.com - Privacy policy VAT number: IT01247470535 |
