
|
Do it yourself
| |||
| ||||


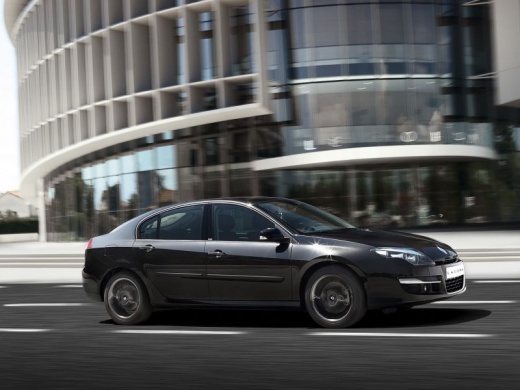
How to Remove the Dashboard of a Renault Laguna
Model: Renault Laguna
MK III, X91, Laguna III, MK 3, Laguna 3
- Years:
2007, 2008, 2009, 2010, 2011, 2012, 2013, 2014, 2015
Video tutorial
Below are the instructions that will allow you to remove and replace the entire dashboard of the Renault Laguna. First, get inside the cabin and start removing all the elements of the dashboard; begin with the removal of the radio and climate control knobs by unscrewing the screws and disconnecting the various electrical connectors. Next, remove the central cover of the dashboard and the air vents, then remove the instrument cluster and the glove compartment. Finally, remove the dashboard, making any necessary repairs or replacements.
Posted on 10 March 2026 by ScegliAuto
Related tutorials
Renault Laguna
(2001-2007 /
MK 2, X74, Laguna 2)
In this new guide dedicated to your Renault Laguna second series (2002), find out where all the various fuses are located in the vehicle. With this g…

Renault Laguna
(2001-2007 /
MK 2, X74, Laguna 2)
To dismantle the dashboard of the Renault Laguna, detach the chrome trim that runs along the entire dashboard by loosening the screws underneath. Thi…

Renault Laguna
(1994-2001 /
MK 1, Laguna 1, X56)
Production of the Renault Laguna 1 ceased nearly 30 years ago, in 2001, but that doesn't mean there isn't someone who still has one in their garage! …
Other guides you may be interested in
|
Where to Find and How to Remove the Spare Wheel of a Peugeot 5008?
The spare wheel of a Peugeot 5008 is located under the rear of the vehicle. To remove it, you need to lift the third row of seats to access the fixing bolt that holds the spare wheel in position. Using the correct spanner, proceed to unscrew the fixing bolt until the wheel is no longer secured. At this point, you can extract the spare wheel from underneath the vehicle. Once you have completed this step, you are free to fit the spare wheel. Ensure you correctly remount the spare wheel and securely tighten the fixing bolt when you are finished. by ScegliAuto More videos
|
|
For advertising on this site Write to info@scegliauto.com
ScegliAuto is not responsible for any inaccuracy of the data in the lists. To report any inaccuracy or your business (if you own the business in question), please write to info@scegliauto.com
Number of seconds to generate the page: 0.033
(c) ScegliAuto 2026 - info@scegliauto.com - Privacy policy VAT number: IT01247470535 |
