
|
Do it yourself
| |||
| ||||


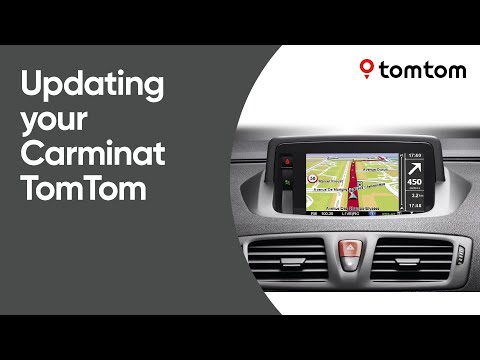
How to update the original Tom Tom navigator on Renault Scenic 3
Model: Renault Scenic
MK III, MK 3, Scenic 3, Scenic III
- Years 2009-2015
Let's see how to update the original Tom Tom navigator on Renault Scenic 3. Very simple operation: enter the car body, turn on the instrument panel of our car with the remote control key, press the wheel located near the gearbox, find the menu with the inscription update to be done (in this case navigator update). Press the wheel down and up to confirm, wait for the time necessary to update the device 8 insert the memory card). Finally, the navigator update will appear in the on-board computer. Check everything again and turn off the instrument panel with the appropriate key.
Posted on 13 January 2020 by ScegliAuto
Video tutorial
Related tutorials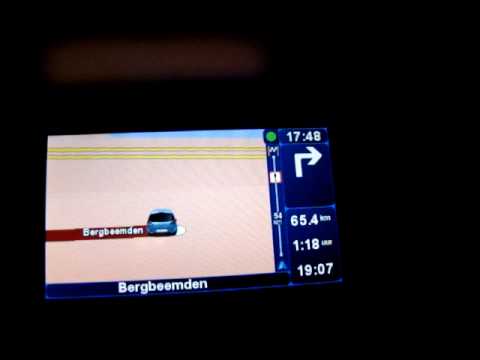
Renault Scenic
(2009-2015 /
MK III, MK 3, Scenic 3, Scenic III)
Follow this video to update the original TomTom navigator on a Renault Scenic. This is a very simple operation; enter the vehicle, turn on the instru…
Renault Scenic
(2003-2009 /
MK 2, Scenic 2)
Let's see how to update the (original) Tom Tom navigator placed on Renault Scenic. Very simple operation, we enter the car body, turn on the instrume…

Renault Scenic
(2009-2015 /
MK III, MK 3, Scenic 3, Scenic III)
After replacing the engine oil of the Renault Megane Scenic III, you must reset the notification system, which reminds us to carry out this important…
Other guides you may be interested in
|
How to Remove the CV Boot on Fiat Panda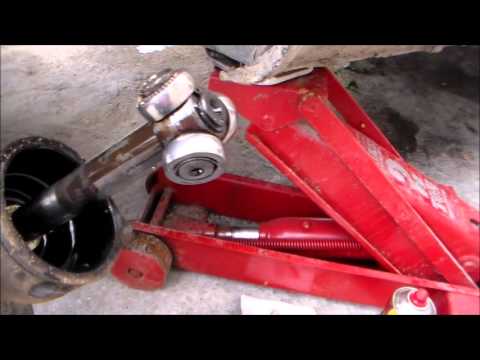
Let’s see how to remove the boot from the joint on a Fiat Panda. After positioning your car on a column lift: raise it to a comfortable height to work on, loosen the wheel nuts (using a socket wrench or air drill) and remove the wheel. Begin unscrewing the brake disc bolts with a socket wrench. Remove the bolts located under the disc and completely detach the wheel hub. Pull the arm around the joint with your hands. Fit the new boot (after removing the old one) onto the constant velocity joint, then start reassembling all the parts in reverse order. by ScegliAuto More videos
|
|
For advertising on this site Write to info@scegliauto.com
ScegliAuto is not responsible for any inaccuracy of the data in the lists. To report any inaccuracy or your business (if you own the business in question), please write to info@scegliauto.com
Number of seconds to generate the page: 0.138
(c) ScegliAuto 2026 - info@scegliauto.com - Privacy policy VAT number: IT01247470535 |