
|
Do it yourself
| |||
| ||||


How to connect the jump leads on a Renault Master MK2
Model: Renault Master
MK 2
- Years:
1997, 1998, 1999, 2000, 2001, 2002, 2003, 2004, 2005, 2006, 2007, 2008
Video tutorial
To connect the jump leads on a Renault Master MK2, the positive point is located in the engine compartment, under a red cover on the passenger side (or near the battery if accessible). The negative point should be connected to a metal ground of the vehicle (not to the negative terminal of the battery, which is hidden under the seat). The actual battery is under the driver's seat or between the seats, but for emergency starting, use the points in the engine compartment. Connect the positive lead to the positive point of the donor vehicle (terminal 3), then to the positive of the support battery (terminal 2). Connect the negative lead to the negative of the support battery (terminal 1), then to a metal ground of the donor vehicle (terminal 4). Start the donor vehicle at medium revs, then start the Master. Once started, disconnect the leads in reverse order: 4-3-2-1.
Posted on 25 October 2026 by ScegliAuto
Related tutorials
Renault Master
(1997-2010 /
MK 2)
It will be possible to replace the starter motor of the Renault Master by opening the hood and removing the components inside the engine compartment,…

Renault Master
(1997-2010 /
MK 2)
To replace the starter motor on the Renault Master, lift the vehicle with a jack or ramp, so you can remove the front wheels: the starter motor is lo…
Renault Master
(1997-2010 /
MK 2)
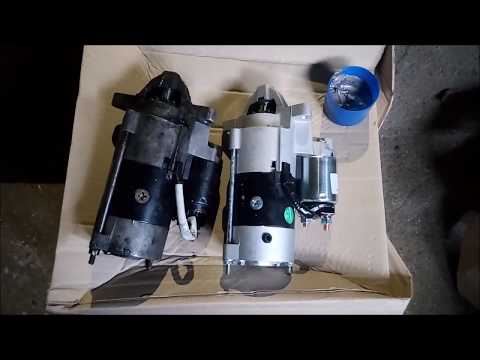
This guide shows you the main instructions on how to remove and replace the starter motor on a Renault Master 2.5. First, open the bonnet and locate …
Other guides you may be interested in
|
Frequently Asked QuestionsHow to Set the Time in an Audi A4?
In this tutorial, you will see how to set the time in an Audi A4, a very simple and quick operation to perform after replacing the battery or when the time changes. First, insert the key and turn on the instrument cluster. Then, press the "SETUP" button located on the center console. Next, press the upper left arrow button, navigate to the "Time" option, and use the central knob to adjust the clock. Finally, set any necessary formats and save by returning to the main screen. by ScegliAuto More videos
|
|
For advertising on this site Write to info@scegliauto.com
ScegliAuto is not responsible for any inaccuracy of the data in the lists. To report any inaccuracy or your business (if you own the business in question), please write to info@scegliauto.com
Number of seconds to generate the page: 0.082
(c) ScegliAuto 2026 - info@scegliauto.com - Privacy policy VAT number: IT01247470535 |
