
|
Do it yourself
| |||
| ||||


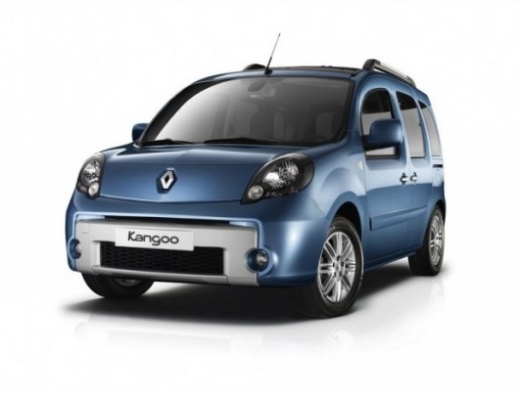
Removing the Front Bumper of the Renault Kangoo 2
Model: Renault Kangoo
MK 2, FC, FW
- Years:
2007, 2008, 2009, 2010, 2011, 2012, 2013, 2014, 2015, 2016, 2017, 2018
Video tutorial
To remove the front bumper of the Renault Kangoo 2, first immobilise the vehicle on a flat surface or place it on a ramp. Open the bonnet and unscrew three of the seven bolts that secure the bumper in position using the appropriate tool. The three bolts are located on the upper edge of the bumper (marked in the video images with three red circles), centrally and on the sides, near the headlamp mounts. Now, remove the cover located on the top of the bumper by unlocking the clips that hold it in place. Next, unscrew another two bolts (located at the central top) that secure the bumper. Now, unscrew the screws that secure the splash guard inside the wheel arches to access the bolts that secure the bumper from below and unscrew them. Finally, unscrew the screws that secure the splash guard protecting the underside of the engine, and you can remove the bumper by unlocking the various clips that hold it in position.
Updated on 20 March 2026 by ScegliAuto
Related tutorials
Renault Kangoo
(1997-2008 /
KC, MK 1, KW)
These brief and simple steps will show you how to remove and replace the rear bumper on a Renault Kangoo. First, move to the rear of the vehicle and …

Renault Kangoo
(2007-2021 /
MK 2, FC, FW)
Today we will discover the instructions that will allow us to disassemble and replace the front bumper of the Renault Kangoo, in simple steps. First,…

Renault Kangoo
(2007-2021 /
MK 2, FC, FW)
To remove the rear bumper on a Renault Kangoo, open the tailgate to access the screws located along its lower trim. Next, loosen the screws at the bo…
Other guides you may be interested in
|
How to Reset the Tire Pressure Light on a MG ZS?
On the instrument cluster of the MG ZS, the tire pressure light that appears can be reset by inflating the tires to the correct pressure: this value will be indicated on the sticker attached to the driver's door pillar. Once the tires have been properly inflated, you can turn on the instrument cluster and navigate through the menu until you find the option that indicates tire pressure: if this screen shows the new values, the light will turn off; otherwise, you will need to drive for a few miles so that the sensors can read the new values and turn off the light afterward. by ScegliAuto More videos
|
For advertising on this site Write to info@scegliauto.com
ScegliAuto is not responsible for any inaccuracy of the data in the lists. To report any inaccuracy or your business (if you own the business in question), please write to info@scegliauto.com
Number of seconds to generate the page: 0.036
(c) ScegliAuto 2026 - info@scegliauto.com - Privacy policy VAT number: IT01247470535 |
