
|
Do it yourself
| |||
| ||||


Headlight replacement on Renaul Clio
Model: Renault Clio
Clio 2, MK 2
- Years 1998-2005
Replacing the headlight of the Renault Clio? Let's see the disassembly of the lighthouse. To disassemble the headlight, the front bumper must be removed. We unscrew all the screws that fasten the front bumper, then disconnect it from the front of the car. We unscrew the locking pins on the headlight bar with a socket wrench. We detach the lamp holders from the headlight and extract the same from the car body. We mount the new headlight with the new bulbs if damaged and fix it in its housing (always type and suitable size). We tighten the pins of the headlight with the socket wrench. We mount the front bumper and screw all the screws.
Posted on 12 September 2020 by ScegliAuto
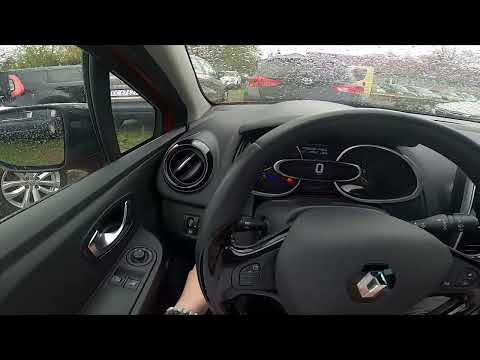
Video tutorial
Related tutorials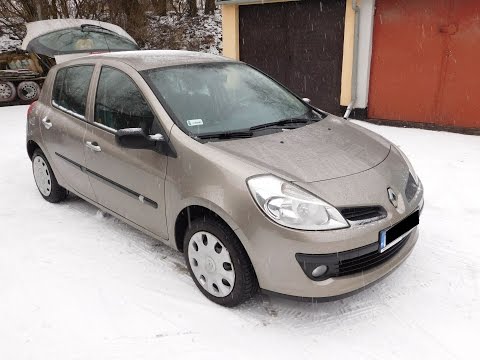
Renault Clio
(2005-2013 /
MK 3, Clio 3, Clio III)
Disassembly of the front bulbs of the Renault Clio, let's see how to change them from the headlights. Let's lift the front hood of the car, let's sec…

Renault Clio
(2019-2026 /
Clio V, Clio 5)
It will be possible to adjust the headlights of the Renault Clio by first inserting the ignition key into the lock in order to activate the instrumen…
Renault Clio
(2012-2019 /
MK 4, Clio 4, Clio IV)
In order to adjust the headlights of the Renault Clio, you need to turn on the instrument panel by inserting the key into the ignition switch: this w…
Other guides you may be interested in
|
How to Replace the Cabin Filter in a Peugeot 207
How do you replace the cabin filter (pollen filter) located in a Peugeot 207? Follow these steps to remove the filter from its dedicated housing: use a screwdriver to unscrew the screws of the plastic cover located under the front windscreen, then remove the filter cover using a lever (where the air filter is located). Use a screwdriver to remove the cap from the filter housing and extract the cabin filter. Insert a new filter ensuring it fits snugly around the walls of the box. Finally, reattach the filter box cap and tighten the screws. Close the engine bonnet after assembly. by ScegliAuto More videos
|
|
For advertising on this site Write to info@scegliauto.com
ScegliAuto is not responsible for any inaccuracy of the data in the lists. To report any inaccuracy or your business (if you own the business in question), please write to info@scegliauto.com
Number of seconds to generate the page: 0.085
(c) ScegliAuto 2026 - info@scegliauto.com - Privacy policy VAT number: IT01247470535 |