
|
Do it yourself
| |||
| ||||


Cleaning the DPF (Diesel Particulate Filter)
Model: Renault Laguna
X74, Laguna 2, MK 2
- Years 2001-2007
If the DPF (Diesel Particulate Filter) is particularly clogged, to the point that normal regenerations are ineffective, you can opt for a forced regeneration, which is a sort of cleaning of the filter using a special kit that includes, in addition to additives, a specific compressed air gun that must be connected at the differential pressure sensor on the DPF itself. It is recommended to perform the operation in a well-ventilated area or, in any case, to connect the exhaust hose to a fume extraction system. Once the gun hose is connected in place of the differential pressure sensor, start the engine and maintain it at around 3,000 RPM; inject the cleaning additive with the gun until it is completely emptied: a white cloud will exit from the exhaust pipe. Finally, reset the fault memory of the engine management ECU using diagnostic equipment.
Updated on 8 February 2026 by ScegliAuto
Video tutorial
Related tutorials
Renault Laguna
(2007-2015 /
Laguna 3, MK 3, X91, MK III, Laguna III)
Today we will explain how to replace the air filter on a Renault Laguna 3 car by yourself. The air filter replacement should be done at least once a …
Renault Laguna
(2007-2015 /
Laguna 3, MK 3, X91, MK III, Laguna III)
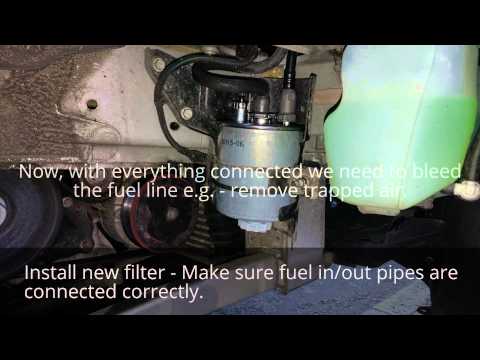
Replacing the diesel filter on a Renault Laguna? Let's see how it disassembles. We lift the car on a column bridge, remove the wheel, remove the prot…
Renault Laguna
(2001-2007 /
X74, Laguna 2, MK 2)
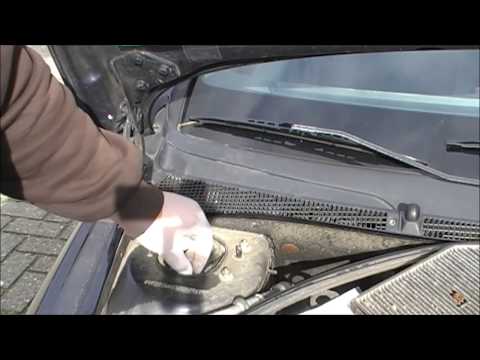
How to replace the pollen filter on a Renault Laguna? Let's see in this video how to perform the disassembly: lift the front hood, then unscrew the f…
Other guides you may be interested in
|
How to Remove the Bonnet on a Smart Fortwo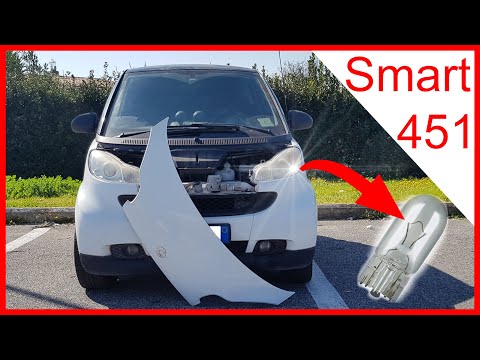
To open the front bumper of the Smart Fortwo for bulb maintenance, follow these steps: open the plastic levers located at the sides of the front grille with your hands. Once the front plastic is free, lift it upwards with your hands, then remove it from the bodywork as shown in the video. After removing the mentioned piece, replace the damaged bulbs. To reassemble, secure the plastic cover at the front of the car and then at the bottom. Finally, close the bonnet release levers with your hands. by ScegliAuto More videos
|
|
For advertising on this site Write to info@scegliauto.com
ScegliAuto is not responsible for any inaccuracy of the data in the lists. To report any inaccuracy or your business (if you own the business in question), please write to info@scegliauto.com
Number of seconds to generate the page: 0.060
(c) ScegliAuto 2026 - info@scegliauto.com - Privacy policy VAT number: IT01247470535 |