
|
Do it yourself
| |||
| ||||


How to clean the engine compartment of the Renault Laguna II without water
Model: Renault Laguna
MK 2, Laguna 2, X74
- Years 2001-2007
Let's see how to clean the engine of the Renault Laguna II without using water: we will need microfiber cloths, brushes of different sizes, a bucket with hot water and soap (hey, so we do use a little water); products for plastics and tires, and a metal brush. Remove the removable parts of the internal hood lining to clean them separately, and use a vacuum cleaner to remove the coarse dirt from the most difficult corners. Dip a brush in the water and soap mixture and scrub the surfaces. Clean a small area at a time and immediately dry it with a dry cloth to prevent the soap from drying. Remove rust from metal parts with the metal brush; apply a product for plastics with a cloth to add color and protect the surfaces. Water is never sprayed directly on the engine. Only a damp brush is used, drying immediately afterwards. In this way, any risk to electrical components is avoided.
Posted on 4 November 2025 by ScegliAuto
Video tutorial
Related tutorials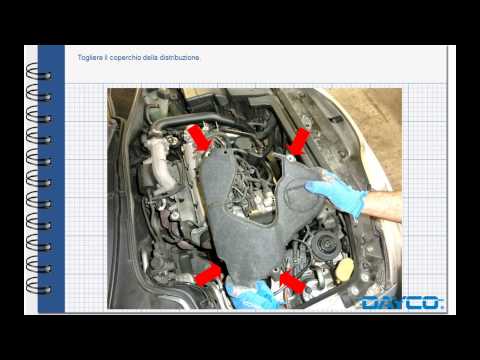
Renault Laguna
(2007-2015 /
MK 3, Laguna III, MK III, X91, Laguna 3)
In this video, see how to remove and change the timing belt and water pump on a Renault Laguna. Lift the car on a column lift and remove the undertra…
Renault Laguna
(1994-2001 /
MK 1, Laguna 1, X56)
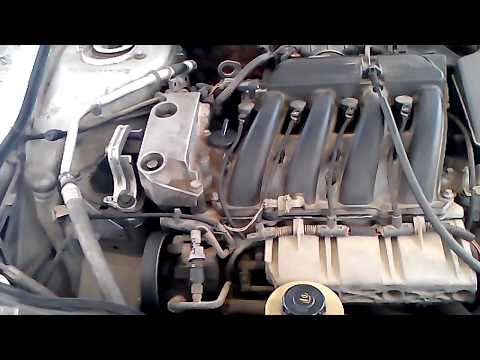
To replace the timing belt on a Renault Laguna: lift the car on a column lift or jack (if necessary, remove the front wheel and the right wheel arch …

Renault Laguna
(2007-2015 /
MK 3, Laguna III, MK III, X91, Laguna 3)
If one or more devices in your Renault Laguna suddenly stop working, the first thing to do is check the status of the respective fuses, the diagrams …
Other guides you may be interested in
|
How to Check the Oil Level on a Jeep Renegade?
To check the oil level on a Jeep Renegade, you need to open the bonnet to access the components inside the engine bay: on the lower left side of the engine block, you will find the dipstick for checking the level. This should be pulled out and thoroughly cleaned with a cloth: once cleaned, reinsert it back into its tube and pull it out immediately after. This way, you can check that the oil mark is between the minimum and maximum levels; finally, you can place the dipstick back in its tube. by ScegliAuto More videos
|
|
For advertising on this site Write to info@scegliauto.com
ScegliAuto is not responsible for any inaccuracy of the data in the lists. To report any inaccuracy or your business (if you own the business in question), please write to info@scegliauto.com
Number of seconds to generate the page: 0.204
(c) ScegliAuto 2026 - info@scegliauto.com - Privacy policy VAT number: IT01247470535 |
