
|
Do it yourself
| |||
| ||||


How to Remove the Front Bumper of the Renault Scenic
Model: Renault Scenic
Scenic 3, MK 3, MK III, Scenic III
- Years 2009-2015
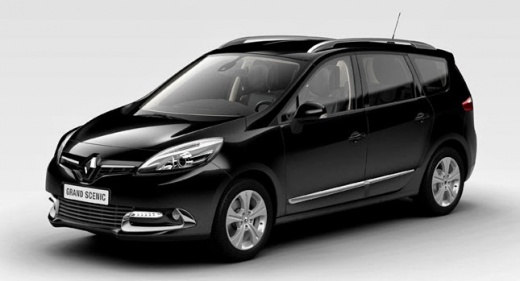
Today, in this brief and simple guide, see the instructions on how to remove and replace the front bumper of the Renault Scenic. First, open the bonnet of your car and start unscrewing all the fixing screws located at the top of the bumper; then unscrew the additional screws found on both sides of the front wheel arches, as shown in the video. At this point, lift the vehicle to unscrew the lower screws of the bumper, starting to detach it from the sides until it is completely removed; apply the reverse procedure for reassembling the front bumper!
Updated on 1 July 2026 by ScegliAuto
Video tutorial
Related tutorials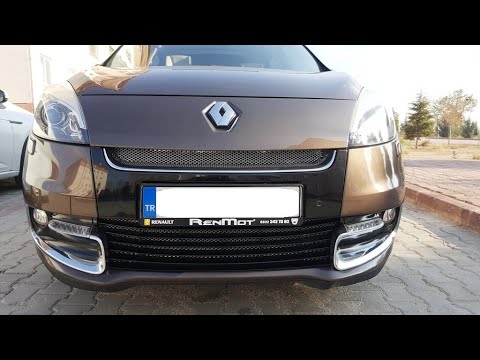
Renault Scenic
(2009-2015 /
Scenic 3, MK 3, MK III, Scenic III)
To remove the front bumper on a Renault Scenic, first loosen the bolts located at the bottom of the bumper. Next, loosen all those found inside the w…
Renault Scenic
(2016-2022 /
MK IV, Scenic 4, MK 4, Scenic IV)
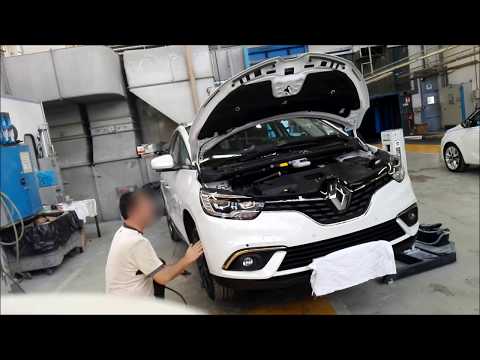
To remove the front bumper on a Renault Scenic, loosen all the screws that secure it to its housing. These screws are located at the top of the bumpe…
Renault Scenic
(2003-2009 /
MK 2, Scenic 2)
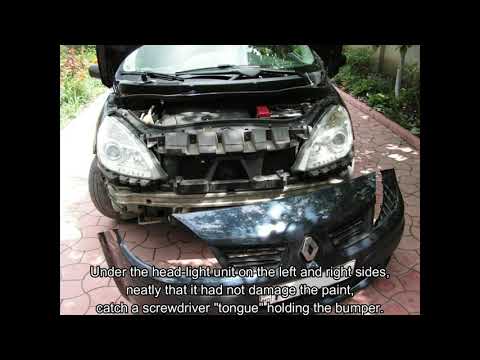
In today's instructions, you will learn how to remove and replace the front bumper of the Renault Scenic in simple steps. First, open the vehicle's b…
Other guides you may be interested in
|
How to reset the tyre pressure warning light on the Suzuki Jimny?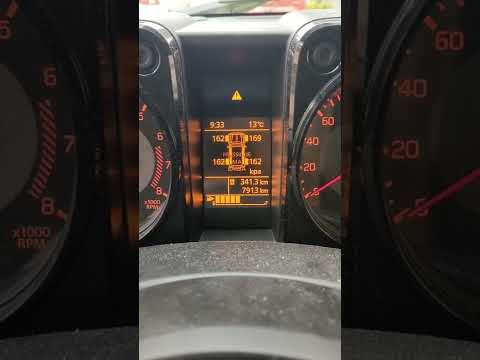
To reset the tyre pressure warning light on the Suzuki Jimny, first inflate the tyres to the pressure value indicated on the corresponding sticker: this is located at the bottom of the driver's door pillar. Once the tyres are inflated, insert the ignition key and turn on the instrument panel: select the screen that indicates the tyre pressures, checking that the values change. After a few seconds, the tyre pressure warning light will automatically turn off. by ScegliAuto More videos
|
For advertising on this site Write to info@scegliauto.com
ScegliAuto is not responsible for any inaccuracy of the data in the lists. To report any inaccuracy or your business (if you own the business in question), please write to info@scegliauto.com
Number of seconds to generate the page: 0.121
(c) ScegliAuto 2026 - info@scegliauto.com - Privacy policy VAT number: IT01247470535 |
