
|
Do it yourself
| |||
| ||||


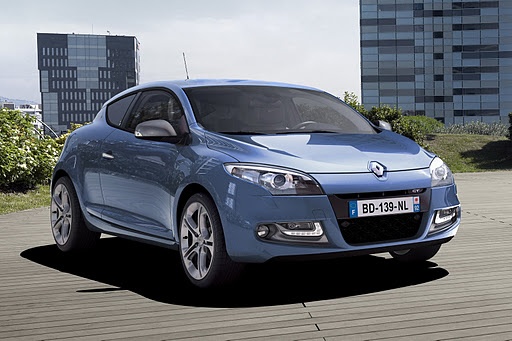
Fuse Box and Diagram for the Renault Megane
Model: Renault Megane
Megane III, Megane 3
- Years 2008-2015
If you are unsure where the fuses for your vehicle are located, you can find guidance in this description. There are two fuse boxes: the first is in the cabin near the driver's door at the bottom of the dashboard, and the second is in the engine bay near the battery. Below is the fuse diagram for the cabin: 1 Electronic parking brake. 2 Brake lights. 3 Central locking. 4 Driver's electric window. 5 Footwell unit. 6 Indicators. 7 Navigation system. 8 Interior rear-view mirror. 9 Rear wiper. 10 and 11 Rear electric windows. 12 ABS/ESC. 13 Passenger electric window. 14 Windscreen washer. 15 Heated exterior mirrors. 16 Radio. 17 Boot accessory socket. 18 Rear seat accessory socket. 19 Lighter.
Updated on 9 July 2026 by ScegliAuto
Video tutorial
Related tutorials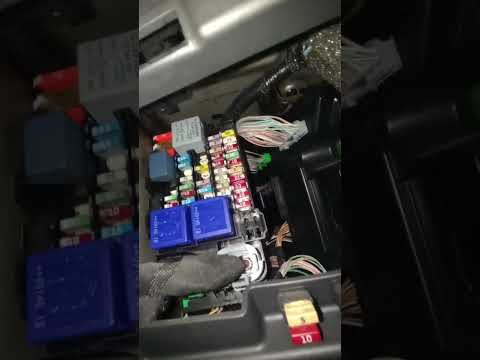
Renault Megane
(2008-2015 /
Megane III, Megane 3)
Today's guide will briefly show the location of the internal fuse box on the Renault Megane. First, open the driver's side front door and start lower…

Renault Megane
(2008-2015 /
Megane III, Megane 3)
Following these brief instructions, we will see how to identify the fuse box and diagram of the Renault Megane. First, we open the front door on the …

Renault Megane
(2002-2010 /
Megane 2)
In this guide we will see the positioning and diagram of the fuse boxes of the Renault Megane. First, we open the hood and remove the plastic cover f…
Other guides you may be interested in
|
Frequently Asked QuestionsHow to Connect the Cables to the Battery of the Citroen Xsara Picasso?
In this tutorial, you will see how to connect the cables to the battery of the Citroen Xsara Picasso, useful if you need to recharge it or perform an emergency start. First, ensure the key is not inserted, then open the bonnet and move to the front of the left headlamp. Next, locate the bolt just behind the filter box and connect the positive terminal clamp to it. Now you can connect the negative terminal to any point on the chassis, such as the indicated point. Once the operation is complete, ensure you disconnect the negative first and then the positive. by ScegliAuto More videos
|
For advertising on this site Write to info@scegliauto.com
ScegliAuto is not responsible for any inaccuracy of the data in the lists. To report any inaccuracy or your business (if you own the business in question), please write to info@scegliauto.com
Number of seconds to generate the page: 0.830
(c) ScegliAuto 2026 - info@scegliauto.com - Privacy policy VAT number: IT01247470535 |
