
|
Do it yourself
| |||
| ||||


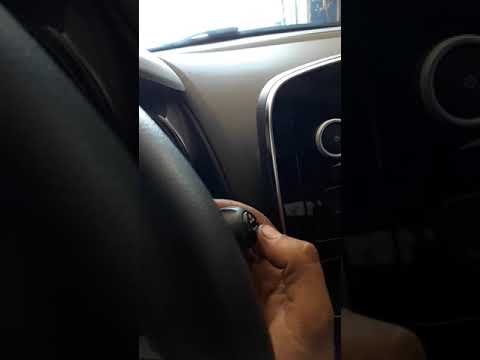
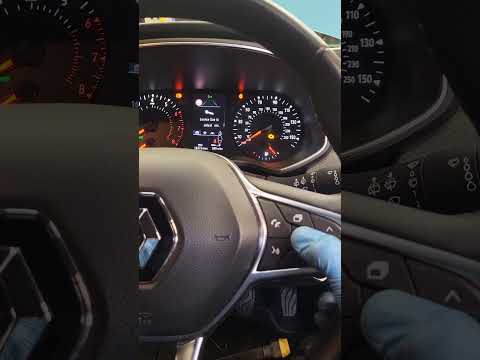
To reset the maintenance light on the Renault Clio 3.
Model: Renault Clio
MK 3, Clio 3, Clio III
- Years 2005-2013
If, after performing the regular maintenance on your Renault Clio Mk3 (year 2005-2013), the corresponding warning light continues to stay on, do not worry because you can easily reset it through the following procedure. First, enter your car and turn on the instrument panel. Immediately after, press the button with the downward arrow located at the end of the left steering wheel lever several times. Once the menu displaying the remaining kilometers until the next maintenance appears, hold down the button with the upward arrow until the reset is complete.
Posted on 14 October 2023 by ScegliAuto
This video is currently unavailable
Related tutorials
Renault Clio
(2019-2026 /
Clio V, Clio 5)
Let’s see how to reset the service light on a Renault Clio V: turn on the ignition without starting the engine and wait for the instrument test. Navi…
Renault Clio
(2012-2019 /
MK 4, Clio 4, Clio IV)
Before we can begin, we will have to go and sit in the driver's seat of our Renault Clio. We then begin to highlight the phrase "Maintenance autonomy…
Renault Clio
(2019-2026 /
Clio V, Clio 5)
Good morning, today's goal is to reset the "Service" light of our Renault Clio. Let's turn on the car's instrument panel by pressing the ignition but…
Other guides you may be interested in
|
Frequently Asked QuestionsRemoving and Replacing a Front Headlamp of a Lancia Lybra
This video explains how to remove and replace the front headlamp and its bulbs on a Lancia Lybra. The car has a very simple and quick headlamp removal system. To start, lift the bonnet, reach into the engine bay, and (specifically at the rear of the headlamp) unclip the metal tab that secures the headlamp, then use a screwdriver to undo the few Torx screws. After removing the screws, unclip the headlamp and pull it out from the bumper, disconnect the power connectors, and replace any damaged bulbs or the entire unit. The reassembly phase is very straightforward: insert the headlamp into the bumper housing as shown in the video, secure the metal tab until the headlamp clicks into place (screw in the securing screws). Finally, test the correct operation of the lights. by ScegliAuto More videos
|

|
For advertising on this site Write to info@scegliauto.com
ScegliAuto is not responsible for any inaccuracy of the data in the lists. To report any inaccuracy or your business (if you own the business in question), please write to info@scegliauto.com
Number of seconds to generate the page: 0.075
(c) ScegliAuto 2026 - info@scegliauto.com - Privacy policy VAT number: IT01247470535 |