
|
Do it yourself
| |||
| ||||


How to Reset the Sunroof on the Renault Scenic II
Model: Renault Scenic
Scenic 2, MK 2
- Years:
2003, 2004, 2005, 2006, 2007, 2008, 2009
Video tutorial
In this video, we will see how to reset the button that controls the opening and closing of the sunroof on the Renault Scenic II: there is a dial located just under the roof that appears to have only an open/close position. If for some reason you find yourself operating it and it does not work, know that by holding it in the open or closed position and pressing it, the function resets. Naturally, keep the sunroof sliding tracks clean and lubricated; this is essential for the proper functioning of the sunroof.
Updated on 24 September 2026 by ScegliAuto
Related tutorials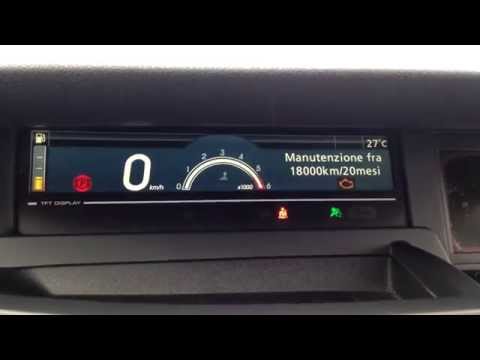
Renault Scenic
(2009-2015 /
MK III, Scenic III, Scenic 3, MK 3)
Before starting, ensure that the service has been completed, then sit in the driver's seat of your Renault Scenic. Begin by activating the instrument…
Renault Scenic
(2009-2015 /
MK III, Scenic III, Scenic 3, MK 3)
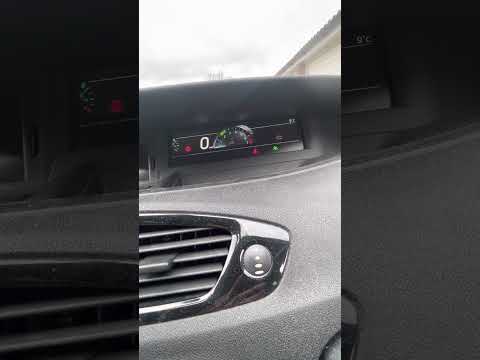
To manually reset the service light that appears permanently on the instrument cluster of your 2011 Renault Scenic, you do not need a professional's …
Renault Scenic
(2009-2015 /
MK III, Scenic III, Scenic 3, MK 3)
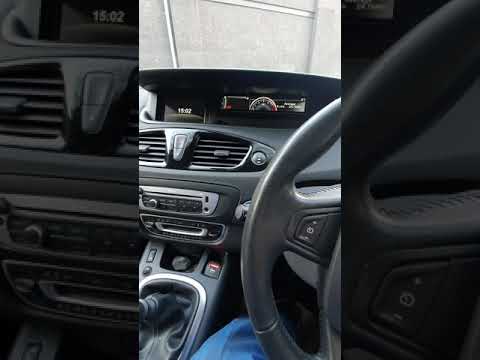
In this short and simple guide, we will see the procedure to reset the service light on a Renault Scenic and Grand Scenic. First, get inside the vehi…
Other guides you may be interested in |
Frequently Asked QuestionsHow to Remove the Rear Seat of a Hyundai Tucson?
To remove the rear seat of a Hyundai Tucson, follow these steps. Start by moving the front seats to their most forward position to gain space. Next, locate the release lever on the underside of the rear seat, near the floor. Press this lever down while pulling the seat upwards to unlock it from the anchor pins. Once unlocked, tilt the seat upwards and forwards to remove it from its position. Repeat this process for both sides of the rear seat. Be careful of any electrical cables or components that may be connected to the seat during removal. Once the rear seat is removed, the disassembly is complete. by ScegliAuto More videos
|
|
For advertising on this site Write to info@scegliauto.com
ScegliAuto is not responsible for any inaccuracy of the data in the lists. To report any inaccuracy or your business (if you own the business in question), please write to info@scegliauto.com
Number of seconds to generate the page: 0.040
(c) ScegliAuto 2026 - info@scegliauto.com - Privacy policy VAT number: IT01247470535 |
