
|
Do it yourself
| |||
| ||||


Saab 9 3 - Video tutorial
Model: Saab 9 3
MK 2
- Years 2002-2014 If you want to install an after market type car radio, in addition to removing the original one, you must buy the adaptation mask to be inserted in the dashboard and the universal wiring to be connected to the sockets of the original system and then to the car radio itself with the standard ISO; it may be necessary to derive the power supply from the fuse holder keyboard obviously inserting a protection fuse; in order to disassemble the original car radio, the most delicate part is to unhook the air vents located right above the radio; once the vents have been removed, just unscrew the fixing screws and remove the original car radio by disconnecting the relative sockets; then insert the cover, connect the wiring and finish by inserting the new radio.
Posted on 14 September 2023 by ScegliAuto
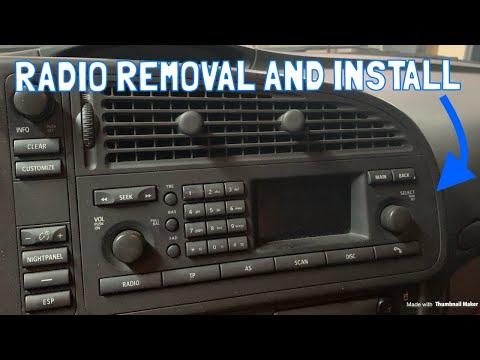 How to disassemble the car radio of a SAAB 9 3
Saab 9 3 (2002-2014 / MK 2) Before we are able to start, we will have to go and sit in the driver's seat of our SAAB 9-3. So let's start by disengaging and removing the air vent  Double DIN system installation
Saab 9 3 (2002-2014 / MK 2) The installation of a 2 DIN radio on the car in question basically requires good dexterity and the equipment necessary to properly shape the seat of 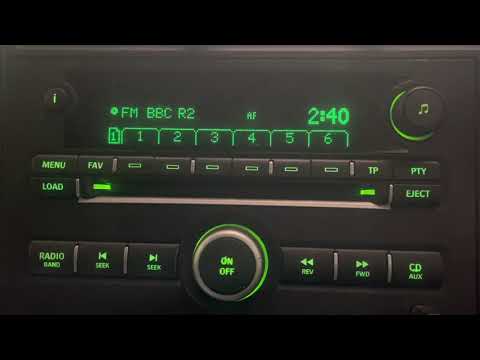 How to manually set the time on the Saab 9-3?
Saab 9 3 (2002-2014 / MK 2) In this new mini guide dedicated to your Saab 9 3 second series (year 2008), we will discover how to manually change the time displayed on the centra Other guides that may interest you
|
How do you open the fuel flap of the Volkswagen Golf 5?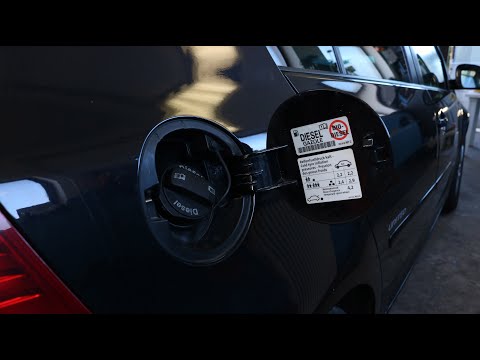
In order to open the fuel flap of the Volkswagen Golf 5, you need to press the appropriate button inside the passenger compartment, which is located in the rear part of the glove box on the driver's door. By pressing the button, the flap will unlock and it will then be possible to open it manually. Once the flap has been opened, the fuel tank access cap must be unscrewed. To close everything again, it will be sufficient to screw the tank cap again; subsequently, the flap must also be closed, pressing it so that it fits thanks to its locking mechanism. by ScegliAuto More videos
|
|
For advertising on this site Write to info@scegliauto.com
ScegliAuto is not responsible for any inaccuracy of the data in the lists. To report any inaccuracy or your business (if you own the business in question), please write to info@scegliauto.com
Number of seconds to generate the page: 0.039
(c) ScegliAuto 2024 - info@scegliauto.com - Privacy Policy VAT number: IT01247470535 |