
|
Do it yourself
| |||
| ||||


Location and diagram of the fuse boxes of the Seat Cordoba MK1
Model: Seat Cordoba
MK 1
- Years 1993-2002
In this video, we can see the details of the fuse diagram for the Seat Cordoba MK1, produced between 1993 and 1999. Access to the fuses is easy but hidden from view for aesthetic reasons. The fuse box is located inside the cabin: sitting in the driver's seat, we look down to the left under the steering wheel and near the door. We will find a plastic panel: to open it, simply rotate the plastic screws 90°, or just press to release the cover, pulling it towards us. Once the panel is removed, we will see the board with all the fuses and relays; often, a diagram is printed on the back of the cover indicating what each fuse corresponds to, along with a pair of special tweezers.
Posted on 11 January 2026 by ScegliAuto
Video tutorial
Related tutorials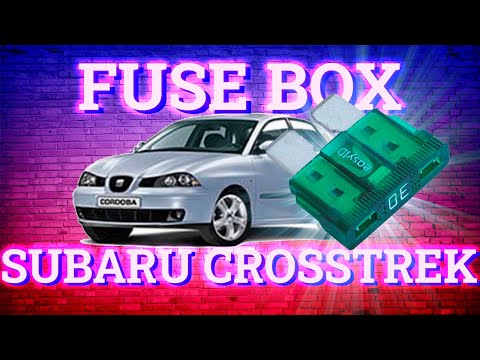
Seat Cordoba
(2002-2009 /
MK 2)
Today's guide will illustrate the fuse diagram and placement for the Seat Cordoba, following the instructions below. First, open the front door and s…

Seat Cordoba
(1993-2002 /
MK 1)
In this short guide we will see how to access the internal fuse box of the Seat Cordoba. First, we open the front door on the driver's side and start…

Seat Cordoba
(2002-2009 /
MK 2)
Follow the steps below to remove and replace the window switch panel on the Seat Cordoba, as well as the Seat Ibiza. First, open the front door and s…
Other guides you may be interested in
|
How to Replace the Remote Battery for the Volvo XC40?
In this tutorial, you will see how to replace the battery in the remote for the Volvo XC40, a very simple and quick operation. For this, you will need a replacement battery of type CR2032 and possibly a small flathead screwdriver. First, remove the front cover by pressing the button on the metal ring, then locate the second button, press it as well, and remove the opposite cover. Next, open the circular cap, take out the old battery, and insert the new one in the opposite direction. Finally, reassemble everything. by ScegliAuto More videos
|
|
For advertising on this site Write to info@scegliauto.com
ScegliAuto is not responsible for any inaccuracy of the data in the lists. To report any inaccuracy or your business (if you own the business in question), please write to info@scegliauto.com
Number of seconds to generate the page: 0.198
(c) ScegliAuto 2026 - info@scegliauto.com - Privacy policy VAT number: IT01247470535 |
