
|
Do it yourself
| |||
| ||||


How to Install a Bicycle Rack on a Smart 450/451
Model: Smart Smart
451
- Years 2007-2015
In this video, you will learn how to install a bicycle rack specifically designed for the Smart 450/451. This is the Rack4smart, which can be found on eBay with the code 165533297044, priced at £205.00 plus £20.00 for shipping. First, join the two halves of the tube together and insert the bolts into the lower terminals of the square tube on both sides. Now, remove the caps from the rear bumper of the car; align the assembled piece with the holes and secure them by turning clockwise, then remove the keys from the bolts. Insert the bicycle support into the top of the 'U' bracket, securing it with the appropriate screw support from the back on both sides. Attach a safety strap to the rear window of the vehicle. Now you can load your bicycle and secure it with the appropriate supports.
Updated on 14 August 2026 by ScegliAuto
Video tutorial
Related tutorials
Smart
(2007-2015 /
451)
It will be possible to install the bike rack for the Smart by removing the two small circular covers that will be found on the sides of the rear bump…

Smart
(2007-2015 /
451)
In order to install the bike rack on the Smart, you need to remove the entire rear panel: to do this, you will need to open the rear hatch and then d…
Smart
(2007-2015 /
451)
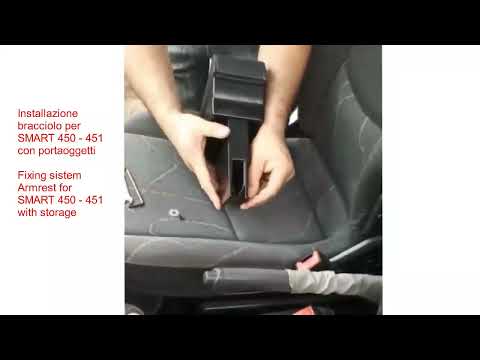
Let’s see how to easily install an armrest on a Smart 450/451 without making any holes. You can find it on Amazon for £46.99 (including delivery cost…
Other guides you may be interested in
|
How to Replace the Remote Battery for the Volvo XC40?
In this tutorial, you will see how to replace the battery in the remote for the Volvo XC40, a very simple and quick operation. For this, you will need a replacement battery of type CR2032 and possibly a small flathead screwdriver. First, remove the front cover by pressing the button on the metal ring, then locate the second button, press it as well, and remove the opposite cover. Next, open the circular cap, take out the old battery, and insert the new one in the opposite direction. Finally, reassemble everything. by ScegliAuto More videos
|
|
For advertising on this site Write to info@scegliauto.com
ScegliAuto is not responsible for any inaccuracy of the data in the lists. To report any inaccuracy or your business (if you own the business in question), please write to info@scegliauto.com
Number of seconds to generate the page: 0.350
(c) ScegliAuto 2026 - info@scegliauto.com - Privacy policy VAT number: IT01247470535 |
