
|
Do it yourself
| |||
| ||||


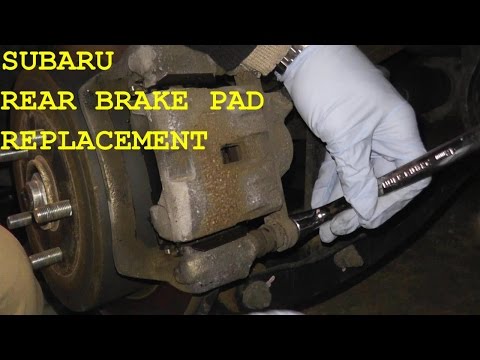
Replacing Brake Discs and Pads
Model: Subaru Impreza
MK 2
- Years 2001-2007
Has the brake wear warning light just come on? Don’t wait any longer, replace them! Let’s see how to do it together.
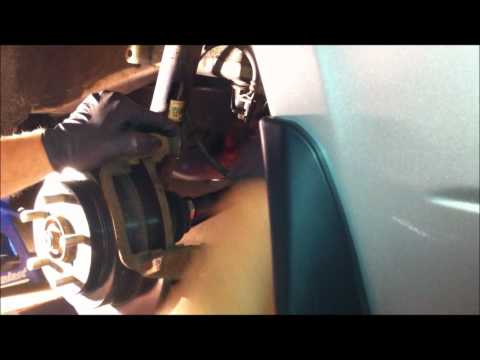
Once the car is lifted on the side where you want to start replacing the pads, remove the wheel and use a spanner to unscrew the inner bolts of the caliper. Once removed and the caliper is free, pull it out and proceed to remove the worn old pads. To remove the discs, unscrew the inner bolts and the 2 outer bolts, then gently tap the inner side with a hammer as shown in the video while turning the disc so it separates from the wheel hub. It is advisable not to hit too hard to avoid damage. Fit the new disc, re-tighten both the outer and inner nuts, take the new pads, attach the metal parts taken from the old pads as shown in the video, and reinstall them in their seats, ensuring the side with the round marks faces towards the inside of the car, aligning with the brake pistons. Reinstall the caliper, re-tighten the bolts, and remount the wheel. Maintenance has been completed on the WRX model.
Updated on 1 February 2026 by ScegliAuto
Video tutorial
Related tutorials
Subaru Impreza
(2011-2016 /
MK 4)
Lift the vehicle on appropriate axle stands and remove the front wheel. Unscrew the caliper mounting pins and remove the caliper from its seat, take …
Subaru Impreza
(2011-2016 /
MK 4)
To replace the rear brake pads, it is advisable to loosen the wheel fastening bolts before lifting the vehicle. Once lifted and secured on appropriat…
Subaru Impreza
(2001-2007 /
MK 2)
Lift the vehicle onto a ramp or suitable axle stands and remove the rear wheel. Use a C-clamp to retract the piston of the brake caliper to facilitat…
Other guides you may be interested in
|
How to Remove the Headlight Bulbs on a Toyota Rav4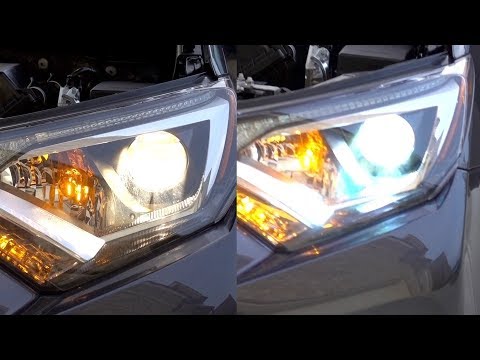
Let's see how to remove the headlight bulbs on a Toyota Rav4. Open the bonnet by pulling the lever located at the bottom right of the dashboard and secure it. Locate the inspection cap (if present) on the headlight and remove it (located at the rear of the headlight). At this point, you will find the bulbs with metal clips; pull the bulb holders out of the headlight and extract the damaged bulb using a screwdriver and pliers. Fit the new bulb (ensuring it is the correct type and size), insert the bulb holder back into the headlight housing, and close the headlight with the inspection cap. Test the lights to ensure they are functioning correctly. by ScegliAuto More videos
|
|
For advertising on this site Write to info@scegliauto.com
ScegliAuto is not responsible for any inaccuracy of the data in the lists. To report any inaccuracy or your business (if you own the business in question), please write to info@scegliauto.com
Number of seconds to generate the page: 0.059
(c) ScegliAuto 2026 - info@scegliauto.com - Privacy policy VAT number: IT01247470535 |