
|
Do it yourself
| |||
| ||||


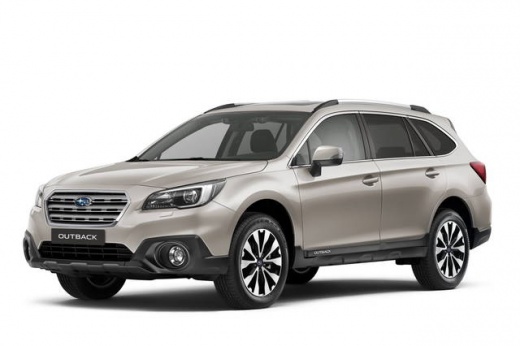
How to Remove the Rear Bumper of a Subaru Outback
Model: Subaru Outback
BS, MK 5
- Years 2014-2019
To change the rear bumper of your Subaru Outback, you need to locate two small hidden openings in the bodywork of your vehicle. Here are the main screws you need to unscrew to remove the bumper. Remove the plastic covers, starting from the bottom (there is one screw and one clip on each side). The rest of the bumper is attached with clips and will come off easily, except for the lower fixing of the stone and mud guard. Once you have removed the clips holding this part to the bodywork, you can remove the bumper without any issues. A rear bumper for a Subaru Outback costs around £285 on major e-commerce platforms, to which you need to add the cost of painting to match the body colour.
Updated on 26 May 2026 by ScegliAuto
Video tutorial
Related tutorials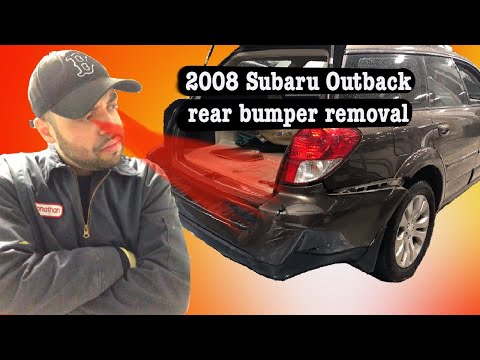
Subaru Outback
(2003-2009 /
BL, BP, MK 3)
To remove the rear bumper of the Subaru Outback, you must first detach the rear lights by loosening the corresponding screws, which are accessible on…
Subaru Outback
(2003-2009 /
BL, BP, MK 3)
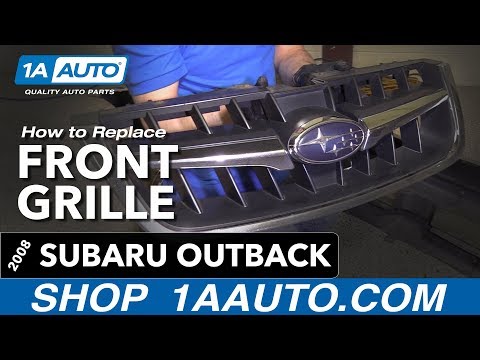
Today, we will see in this short and simple video how to remove and replace the front bumper grille on a Subaru Outback. First, remove the plastic cl…
Subaru Outback
(2003-2009 /
BL, BP, MK 3)
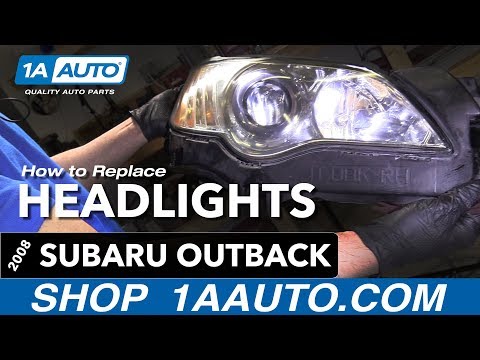
Today, follow the necessary procedure to dismantle and replace the front headlights of the third series Subaru Outback by following these simple step…
Other guides you may be interested in
|
How to Open the Fuel Filler Cap of the 2020 Hyundai Tucson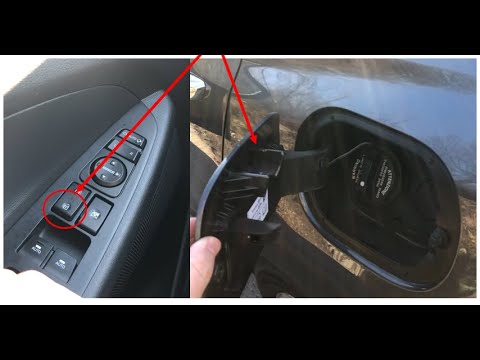
The 2020 Hyundai Tucson has two methods for opening the fuel filler flap. Both methods can only be used if the key has been removed from the ignition and the engine is off. The first method involves removing the key from the ignition and keeping all the car locks open, then go to the flap and press it. This will open the flap. The second method is to stay in the car, remove the key from the ignition, and then press the fuel filler release button located on the left door. by ScegliAuto More videos
|
|
For advertising on this site Write to info@scegliauto.com
ScegliAuto is not responsible for any inaccuracy of the data in the lists. To report any inaccuracy or your business (if you own the business in question), please write to info@scegliauto.com
Number of seconds to generate the page: 0.437
(c) ScegliAuto 2026 - info@scegliauto.com - Privacy policy VAT number: IT01247470535 |
