
|
Do it yourself
| |||
| ||||


How to replace the battery of a Suzuki Swift key?
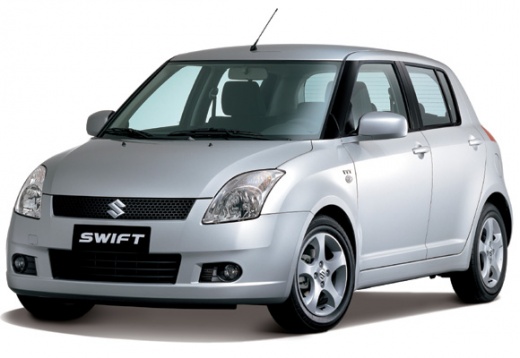
Model: Suzuki Swift
MK 4, Rs41
- Years 2004-2010
To replace the battery of a Suzuki Swift key, start by locating the screw located on the back of the key. Use a small screwdriver to unscrew this screw. Once the screw is removed, carefully separate the back cover of the remote from the front. Inside, you will find the battery. Note the position and orientation of the battery to ensure you insert the new one correctly. Carefully remove the old battery and replace it with a new one of the same type. After inserting the new battery, reassemble the back cover making sure it is properly aligned. Finally, screw the screw back in to securely close the remote. Your Suzuki Swift key should now work properly with the new battery.
Posted on 25 January 2025 by ScegliAuto
Video tutorial
Related tutorials
Suzuki Swift
(2004-2010 /
MK 4, Rs41)
Thanks to its particularly minimalist and simple external structure, replacing the key battery on your Suzuki Swift is straightforward and quick. In …

Suzuki Swift
(2017-2024 /
MK 6, A2L)
When the remote control of the 2023 Suzuki Swift stops working, it means that the remote control battery needs to be replaced. To perform this operat…

Suzuki Swift
(2017-2024 /
MK 6, A2L)
On the Suzuki Swift, the maintenance interval and oil change reset is done from the instrument cluster. With the Suzuki Swift stationary and the engi…
Other guides you may be interested in
|
How to replace the horn on a Renault Duster - Dacia Duster
Today's main instructions will show you the procedure for removing and replacing the horn or sound signal on the Renault Duster, as well as the Dacia Duster. First, open the bonnet of the vehicle and start removing the front bumper by unscrewing all the fixing screws; you will find the horn right in front of the radiator, as shown in the video. At this point, disconnect the electrical connector and unscrew the bracket screw to remove and replace the horn with the new one; finally, reassemble the front bumper! by ScegliAuto More videos
|
|
For advertising on this site Write to info@scegliauto.com
ScegliAuto is not responsible for any inaccuracy of the data in the lists. To report any inaccuracy or your business (if you own the business in question), please write to info@scegliauto.com
Number of seconds to generate the page: 0.350
(c) ScegliAuto 2026 - info@scegliauto.com - Privacy policy VAT number: IT01247470535 |
