
|
Do it yourself
| |||
| ||||


How to reset the "Service" light on a Suzuki Swift?
Model: Suzuki Swift
MK 6, A2L
- Years 2017-2024
To reset the "Service" light on a Suzuki Swift, turn on the instrument panel without starting the engine. Find the button located under the instrument panel, which will allow you to access the on-board computer menu. Press this button repeatedly until the option related to maintenance or service intervals appears on the display. When you are in the correct menu, you will need to look for the option to reset the service intervals. Once found, hold down the button for a few seconds until the confirmation request appears. Confirm the reset by holding down the button again until the "Service" light turns off. This indicates that the system has recognized the new maintenance interval and the reset has been successfully completed. After completing the procedure, turn off and on the instrument panel to verify that the light has indeed been deactivated. If the light remains on, repeat the steps carefully to ensure that you have followed the procedure correctly.
Posted on 5 May 2025 by ScegliAuto
Video tutorial
Related tutorials
Suzuki Swift
(2017-2024 /
MK 6, A2L)
On the Suzuki Swift, the maintenance interval and oil change reset is done from the instrument cluster. With the Suzuki Swift stationary and the engi…
Suzuki Swift
(2004-2010 /
MK 4, Rs41)
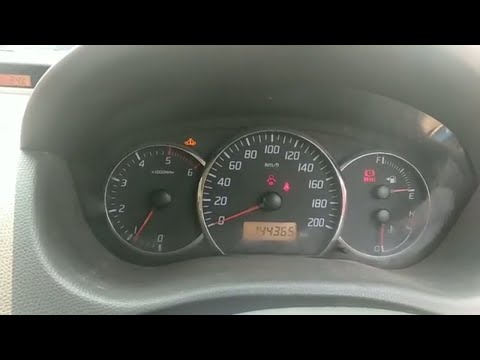
To reset the Service light on a Suzuki Swift, there is no procedure that can be executed from the onboard computer settings. You will need to connect…
Suzuki Swift
(2004-2010 /
MK 4, Rs41)
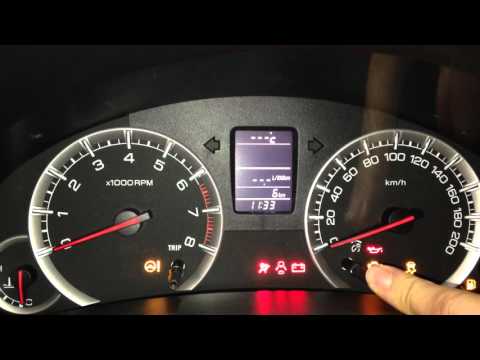
Reset the service light on a Suzuki Swift? Here's how to reset the oil service warning light. Turn on the instrument cluster of the Suzuki with the k…
Other guides you may be interested in
|
How to Open the Bonnet on the Lancia Y
To open the bonnet on this vehicle, follow these simple instructions: first, open the driver's door and locate the lever positioned just below the dashboard, marked with an image of the vehicle with the bonnet open. Pull this lever towards you until you hear a "click" indicating the bonnet is released. Next, exit the cabin and stand in front of the bonnet to disengage the safety catch and complete the opening. To do this, slightly lift the bonnet, locate the yellow lever underneath, and pull it to the left to fully release and open the bonnet. by ScegliAuto More videos
|

|
For advertising on this site Write to info@scegliauto.com
ScegliAuto is not responsible for any inaccuracy of the data in the lists. To report any inaccuracy or your business (if you own the business in question), please write to info@scegliauto.com
Number of seconds to generate the page: 0.478
(c) ScegliAuto 2026 - info@scegliauto.com - Privacy policy VAT number: IT01247470535 |
