
|
Do it yourself
| |||
| ||||


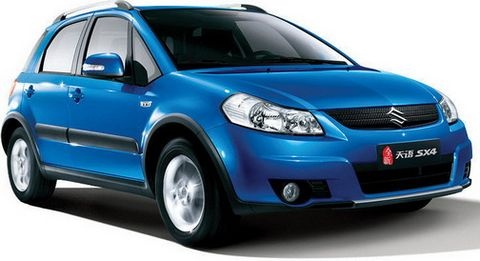
How to Replace the Number Plate Light Bulb on a Suzuki SX4
Model: Suzuki Sx4
MK 1, RW, EY, GY
- Years:
2006, 2007, 2008, 2009, 2010, 2011, 2012, 2013, 2014
Video tutorial
To replace the number plate light bulb on a Suzuki SX4, first, open the rear hatch of the boot. Next, remove the internal panel (either the right or left side depending on which bulb needs replacing) by unlocking the three clips (refer to the images for their position) that hold it in place. Once done, you will have access to the bulb to be replaced. Simply remove the bulb holder from its seat (rotate the holder counterclockwise and pull) and take out the bulb to be replaced. After replacing it, reassemble everything by reversing the steps you followed. The bulb holder is mounted in position by rotating it clockwise.
Updated on 7 March 2026 by ScegliAuto
Related tutorials
Suzuki Sx4
(2006-2014 /
MK 1, RW, EY, GY)
It will be possible to replace the license plate bulb of the Suzuki SX4 by prying with an object to remove the device from its housing: once the old …

Suzuki Sx4
(2006-2014 /
MK 1, RW, EY, GY)
To replace the number plate lights, you need to remove the carpet covering under the rear hatch: unclip the retaining clips along the lower edge of t…

Suzuki Sx4
(2006-2014 /
MK 1, RW, EY, GY)
To obtain the unlock code for the Suzuki SX4 radio, you need to remove the device from its housing; this will allow you to read the serial number wri…
Other guides you may be interested in
|
How to Remove the Rear Seat of a Hyundai Tucson?
To remove the rear seat of a Hyundai Tucson, follow these steps. Start by moving the front seats to their most forward position to gain space. Next, locate the release lever on the underside of the rear seat, near the floor. Press this lever down while pulling the seat upwards to unlock it from the anchor pins. Once unlocked, tilt the seat upwards and forwards to remove it from its position. Repeat this process for both sides of the rear seat. Be careful of any electrical cables or components that may be connected to the seat during removal. Once the rear seat is removed, the disassembly is complete. by ScegliAuto More videos
|
|
For advertising on this site Write to info@scegliauto.com
ScegliAuto is not responsible for any inaccuracy of the data in the lists. To report any inaccuracy or your business (if you own the business in question), please write to info@scegliauto.com
Number of seconds to generate the page: 0.081
(c) ScegliAuto 2026 - info@scegliauto.com - Privacy policy VAT number: IT01247470535 |
