
|
Do it yourself
| |||
| ||||


How to Remove the Original Radio from a Suzuki Swift
Model: Suzuki Swift
MK 4, Rs41
- Years 2004-2010
How do you remove the original radio fitted in a Suzuki Swift? Follow these steps carefully to carry out the removal. Obtain screwdrivers and socket wrenches to remove the stereo from your car. Unscrew the screws located inside the glove compartment (remove all the stereo pins); pull the stereo towards you and extract it, being careful of the various wiring (disconnect the power connectors and the antenna cable). Finally, refit the original radio or a generic brand with the appropriate adapters for the input and for connecting the connectors.
Updated on 10 March 2026 by ScegliAuto
Video tutorial
Related tutorials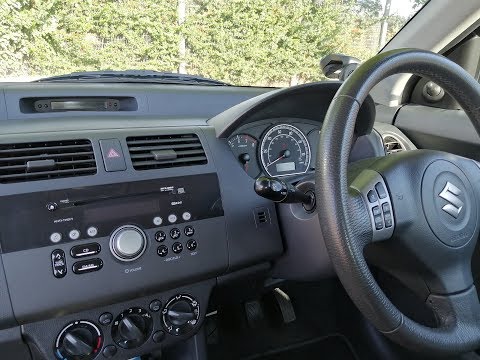
Suzuki Swift
(2004-2010 /
MK 4, Rs41)
Replace the radio in the Suzuki Swift if damaged. Here’s how to remove it. Open the glove compartment, remove the cover plastics, and unscrew the sid…
Suzuki Swift
(2004-2010 /
MK 4, Rs41)
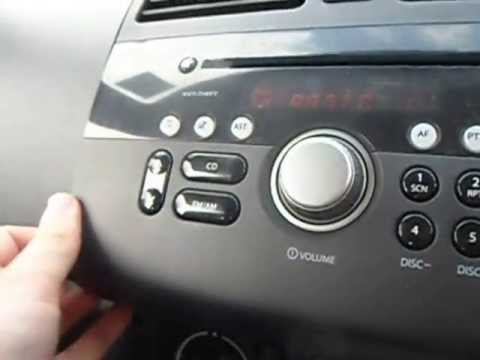
Removing the radio from a Swift? Follow this guide to see how it's done. Open the car's glove compartment and unscrew the screws next to the radio (o…
Suzuki Swift
(2004-2010 /
MK 4, Rs41)
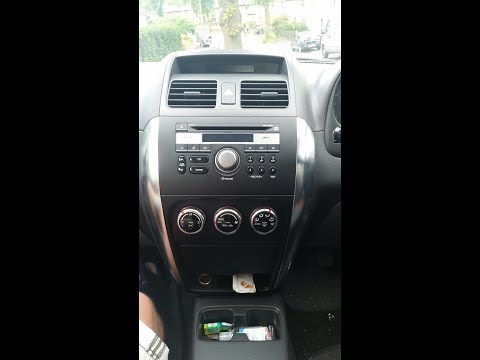
Do you want to replace the radio in your Swift? Enter the cabin and let's see how to disassemble it. Remove the trim panels on either side of the rad…
Other guides you may be interested in
|
How to Open a Stuck Boot on the Peugeot 407?
On the Peugeot 407, the boot may become stuck, possibly due to a problem with the control button or the lock actuator. In such cases, you can perform an emergency opening by following the simple procedure shown in this tutorial. First, open the rear doors, then lower the seat back by operating the release lever. Next, go inside the boot, locate the lock, and manually operate it using a flathead screwdriver. The boot will then be free to open. by ScegliAuto More videos
|
|
For advertising on this site Write to info@scegliauto.com
ScegliAuto is not responsible for any inaccuracy of the data in the lists. To report any inaccuracy or your business (if you own the business in question), please write to info@scegliauto.com
Number of seconds to generate the page: 0.092
(c) ScegliAuto 2026 - info@scegliauto.com - Privacy policy VAT number: IT01247470535 |
