
|
Do it yourself
| |||
| ||||


Suzuki Swift - Car stereo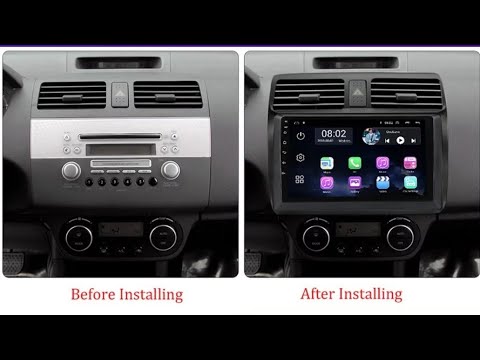 Suzuki Swift (2004-2010 / Rs41, MK 4)
How do you replace the car radio of the Suzuki Swift? The replacement of the Suzuki Swift car radio is done by opening the glove compartment and completely removing it from its housing. Once the compartment is …read all… Posted on 16 January 2024 by ScegliAuto 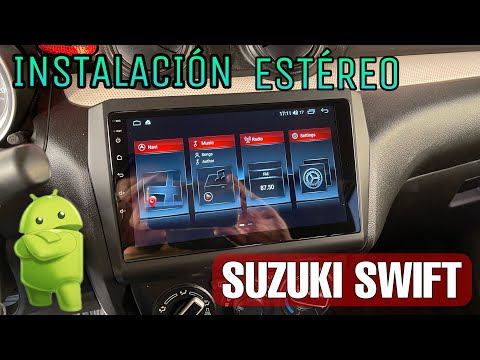 Suzuki Swift (2017-2024 / A2L, MK 6)
How to change the Suzuki Swift car stereo To replace the Suzuki Swift car stereo; we remove the upper plastic of the car radio with the help of a plastic tool, lifting it; remove the two upper screws …read all… Posted on 8 July 2022 by ScegliAuto 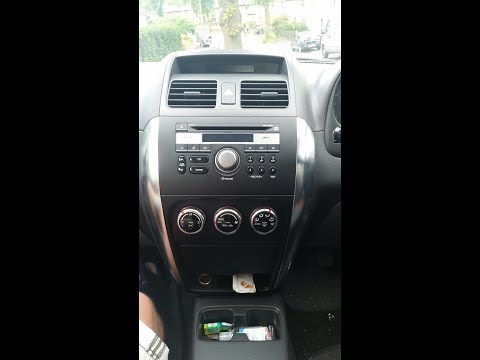 Suzuki Swift (2004-2010 / Rs41, MK 4)
How to replace Suzuki Swift car stereo Do we want to replace the Swift car stereo? We enter the cockpit and see the disassembly. Remove the plastic covering on the sides of the car radio with a …read all… Posted on 25 March 2024 by ScegliAuto 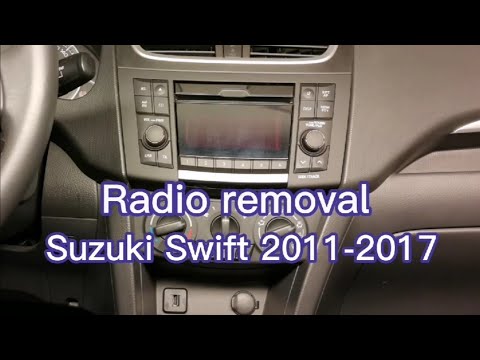 Suzuki Swift (2010-2017 / AZG, Rs41, MK 5)
How to disassemble the car stereo of a Suzuki Swift Before starting, we will have to sit in the driver's seat of our Suzuki Swift. So let's start by disengaging and removing the air vents, using a thin but …read all… Posted on 31 January 2024 by ScegliAuto 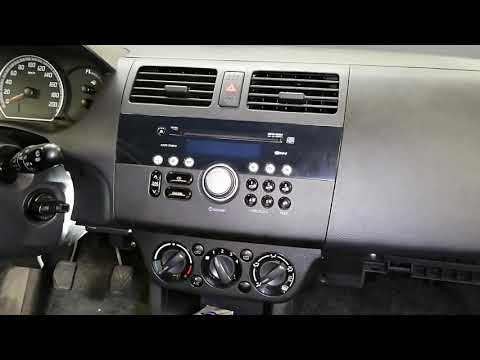 Suzuki Swift (2004-2010 / Rs41, MK 4)
How to disassemble the console of SUzuki Swift Remove the protection under the steering wheel by pulling hard (it is attached with the clips). As shown in the video, unscrew the three screws on the plastic …read all… Posted on 25 January 2024 by ScegliAuto 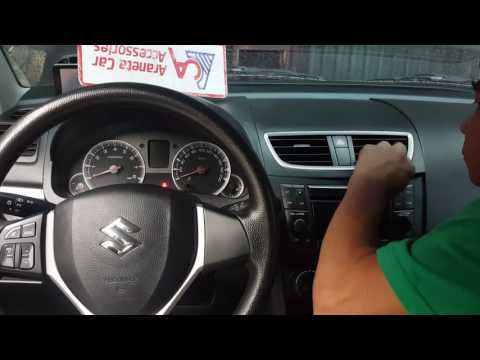 Suzuki Swift (2010-2017 / AZG, Rs41, MK 5)
Removal of the radio and center console SUzuki Swift In this video tutorial we will see how to disassemble the car radio and the center console panel on a Suzuki Swift third series, following these simple steps. …read all… Posted on 7 January 2024 by ScegliAuto 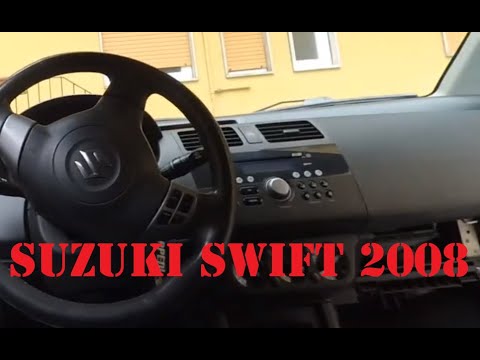 Suzuki Swift (2004-2010 / Rs41, MK 4)
Suzuki Swift car radio disassembly Today, in this video, we will see how to disassemble the car radio of a 2008 Suzuki Swift. First we get on board the car and we go to remove the plastic …read all… Posted on 24 December 2023 by ScegliAuto 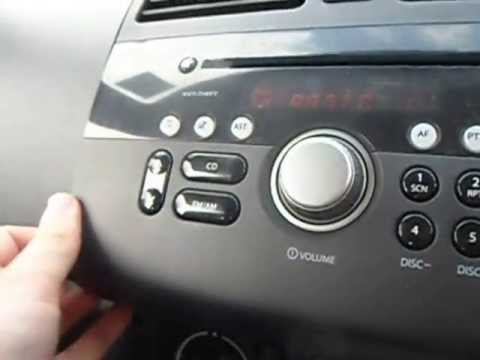 Suzuki Swift (2004-2010 / Rs41, MK 4)
Remove the radio from the dashboard of Suzuki Swift Disassemble the radio on a Swift? Let's follow the guide and see how it is disassembled. We open the car drawer and unscrew the screws next to the car radio …read all… Posted on 18 December 2023 by ScegliAuto 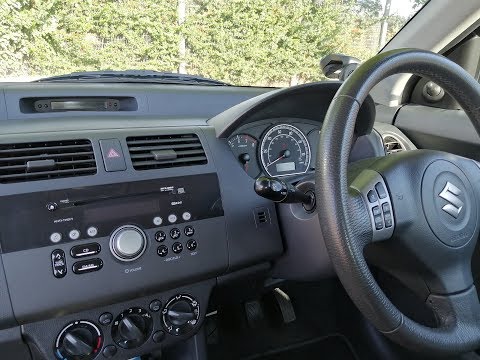 Suzuki Swift (2004-2010 / Rs41, MK 4)
How to disassemble car stereo on Suzuki Swift We replace the Suzuki Swift car stereo if it is damaged. Let's see how it disassembles. We open the glove compartment, remove the plastic coverings and unscrew …read all… Posted on 4 December 2023 by ScegliAuto 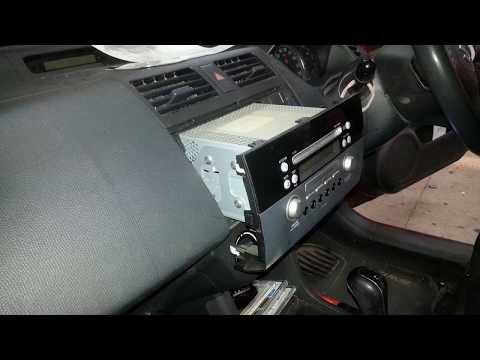 Suzuki Swift (2004-2010 / Rs41, MK 4)
How to disassemble the original car stereo of a Suzuki Swift How to disassemble the original car stereo fitted to Suzuki Swift cars? Let's see carefully how to perform the disassembly by following the right steps. Let's …read all… Posted on 16 November 2023 by ScegliAuto 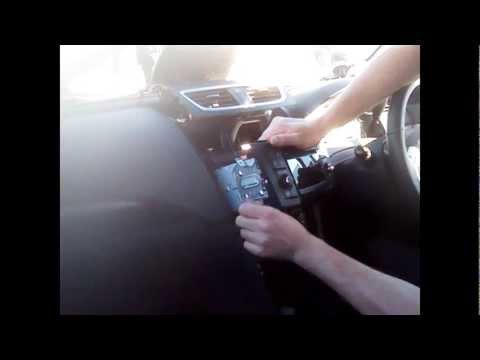 Suzuki Swift (2004-2010 / Rs41, MK 4)
Disassembly of the car radio for repair Using a plastic tool to avoid damaging the body, pry the dashboard air grille and remove it from its housing. Unscrew the sealing screw in the compartment and …read all… Posted on 16 July 2023 by ScegliAuto Airbags (1) Shock absorbers (4) Antenna (1) Car stereo (11) Battery (9) Gearbox (4) Spark plugs (6) Glow plugs (1) Soft top (1) Bodywork (4) Key (13) Timing belt (8) V-belt (1) Air conditioning controls (1) -board computer (16) Checks and maintenance (61) Dashboard (2) Bearing (2) Headlight (2) Tail light (9) Fog lights (2) Air filter (9) Cabin air filter (10) Diesel filter (1) Oil filter (3) Hand brake (2) Clutch (1) Xenon headlight kit (1) Light bulb (1) Headlight bulb (15) Rear light bulb (9) Interior lights ceiling light bulb (3) License plate light (1) Third brake light (1) Handle (1) Gear oil (1) Engine oil (7) Door panel (5) Front bumper (3) Rear bumper (2) Brake pads (2) Tires (1) Gear Shift Knob (7) Push button (1) Instrument cluster (14) Fuse box (28) Suspensions (2) Outside rearview mirror (1) Manufacturer's coat of arms (1) Windscreen wipers (2) Engine head (1) EGR valve (1) Steering wheel (1) |
How to reset the TPMS light of the Volkswagen Polo 2011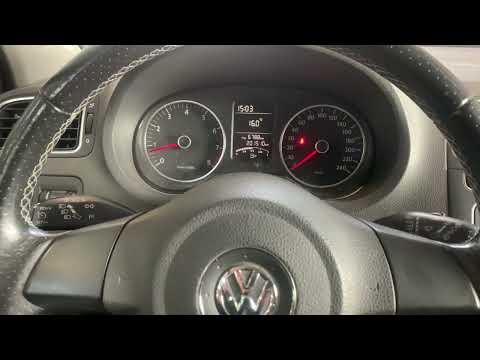
The orange tire light indicates the presence of one or more tires with an inflation pressure below the recommended limit. All this is easily solved by inflating them correctly or replacing them in the event of a puncture. After carrying out these operations it is necessary to reset the warning light and therefore also the sensor in order to have new reading data. All you have to do is start the car ignition and then fully open the glove compartment on the passenger side. Locate the two buttons in the right corner and press "Set". At this point the reset is complete and you can turn off the ignition. by ScegliAuto More videos
|
|
For advertising on this site Write to info@scegliauto.com
ScegliAuto is not responsible for any inaccuracy of the data in the lists. To report any inaccuracy or your business (if you own the business in question), please write to info@scegliauto.com
Number of seconds to generate the page: 0.008
(c) ScegliAuto 2024 - info@scegliauto.com - Privacy Policy VAT number: IT01247470535 |