
|
Do it yourself
| |||
| ||||


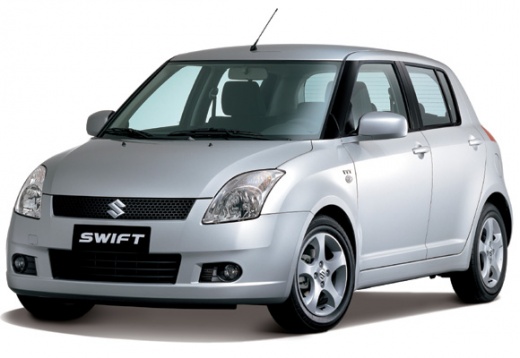
How to Remove the Console on Suzuki Swift
Model: Suzuki Swift
MK 4, Rs41
- Years 2004-2010
Remove the cover under the steering wheel by pulling firmly (it is attached with clips). As shown in the video, unscrew the three screws regarding the plastic just behind the steering wheel. Now the stereo screw is visible: unscrew it. Remove the glove compartment by bending the inner part and pulling firmly; nothing needs to be unscrewed. Identify the radio screw on the passenger side and, of course, unscrew it. To remove the stereo, pry behind it (first remove any CD) with a suitable tool, then disconnect the wiring. If you intend to install the new stereo, proceed in reverse order.
Updated on 10 April 2026 by ScegliAuto
Video tutorial
Related tutorials
Suzuki Swift
(2004-2010 /
MK 4, Rs41)
If you own a Suzuki Swift and are wondering how you can replace the cabin air filter yourself, then all you have to do is read the following guide an…

Suzuki Swift
(2017-2024 /
MK 6, A2L)
On the Suzuki Swift, the maintenance interval and oil change reset is done from the instrument cluster. With the Suzuki Swift stationary and the engi…

Suzuki Swift
(2010-2017 /
Rs41, AZG, MK 5)
When the TPMS light on a Suzuki vehicle comes on, it means that it is necessary to check the tire pressure. The tire pressure varies depending on the…
Other guides you may be interested in
|
How to Open the Bonnet of a Renault Megane if the Lever is Broken?
If the lever that unlocks the bonnet of the Renault Megane is broken or not functioning, there is an emergency procedure to unlock the mechanism: remove the right front grille located at the top of the bumper. Once the grille is removed, you can locate the actuator mechanism: by pulling the spring in this position, you can unlock the actuator, allowing you to lift the bonnet and access the components located inside the engine compartment. You can then close the bonnet simply by lowering it. by ScegliAuto More videos
|
For advertising on this site Write to info@scegliauto.com
ScegliAuto is not responsible for any inaccuracy of the data in the lists. To report any inaccuracy or your business (if you own the business in question), please write to info@scegliauto.com
Number of seconds to generate the page: 0.369
(c) ScegliAuto 2026 - info@scegliauto.com - Privacy policy VAT number: IT01247470535 |
