
|
Do it yourself
| |||
| ||||



How to Reset the Oil Change Light on a Suzuki SX4
Model: Suzuki Sx4
MK 1, RW, EY, GY
- Years:
2006, 2007, 2008, 2009, 2010, 2011, 2012, 2013, 2014
Video tutorial
To reset the oil change light after servicing on a Suzuki SX4, use a USB cable, a computer, and the MultiEcuScan program. Select the make and model of your vehicle: engine control. Click connect, and at this point, the laptop connects to the vehicle (remember to keep the ignition on, otherwise the connection will fail). The program provides interesting information, such as the true age of the vehicle via the ECU programming date, or the actual mileage (if the odometer has been disconnected). There are many interesting things to see. To reset the service light, go to "adjustment": select "oil replacement". Execute this. Return to the main parameters and check the next oil replacement distance: 18,000 miles. It also states on the dashboard: oil change 18,000.
Updated on 29 July 2026 by ScegliAuto
Related tutorials
Suzuki Sx4
(2013-2021 /
JY, MK 2)
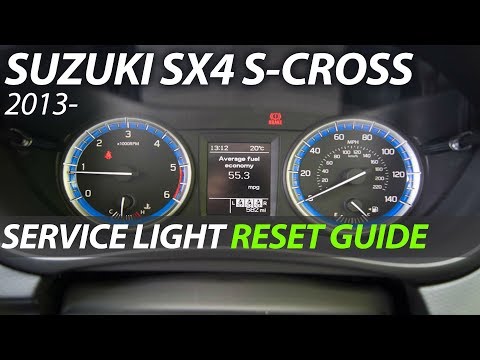
You can clear the Service light displayed on the instrument panel of the Suzuki SX4 by turning on the ignition and inserting the key into the ignitio…

Suzuki Sx4
(2006-2014 /
MK 1, RW, EY, GY)
Below are the instructions on how to reset the service light for the regular maintenance of the engine oil change on the Suzuki SX4. First, get in th…
Suzuki Sx4
(2006-2014 /
MK 1, RW, EY, GY)
To reset the Service light on your Suzuki SX4, first turn on the ignition and press the button located at the top right to bring up a menu. Next, nav…
Other guides you may be interested in
|
How to Remove the Rear Seat of a Hyundai Tucson?
To remove the rear seat of a Hyundai Tucson, follow these steps. Start by moving the front seats to their most forward position to gain space. Next, locate the release lever on the underside of the rear seat, near the floor. Press this lever down while pulling the seat upwards to unlock it from the anchor pins. Once unlocked, tilt the seat upwards and forwards to remove it from its position. Repeat this process for both sides of the rear seat. Be careful of any electrical cables or components that may be connected to the seat during removal. Once the rear seat is removed, the disassembly is complete. by ScegliAuto More videos
|
|
For advertising on this site Write to info@scegliauto.com
ScegliAuto is not responsible for any inaccuracy of the data in the lists. To report any inaccuracy or your business (if you own the business in question), please write to info@scegliauto.com
Number of seconds to generate the page: 0.022
(c) ScegliAuto 2026 - info@scegliauto.com - Privacy policy VAT number: IT01247470535 |
