
|
Do it yourself
| |||
| ||||


How to Replace the Cabin Filter in a Suzuki Swift?
Model: Suzuki Swift
MK 6, A2L
- Years 2017-2024
As shown in this tutorial, replacing the cabin filter in a Suzuki Swift is an extremely simple and cost-effective task. First, position yourself in the passenger seat, then open the glove compartment, press both sides of the drawer inwards, and detach it from the dashboard. Once done, locate the long rectangular cover, open it by unlocking the relevant clip, and remove the old filter. Finally, clean the inside of the housing from any debris and insert the replacement in the correct orientation, usually indicated along its edge.
Updated on 4 August 2026 by ScegliAuto
Video tutorial
Related tutorials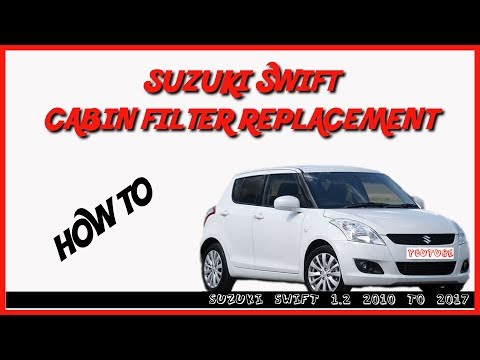
Suzuki Swift
(2010-2017 /
Rs41, AZG, MK 5)
To replace the cabin filter in a Suzuki Swift, open the glove compartment located on the passenger side by releasing the internal retaining clips. Th…
Suzuki Swift
(2004-2010 /
MK 4, Rs41)
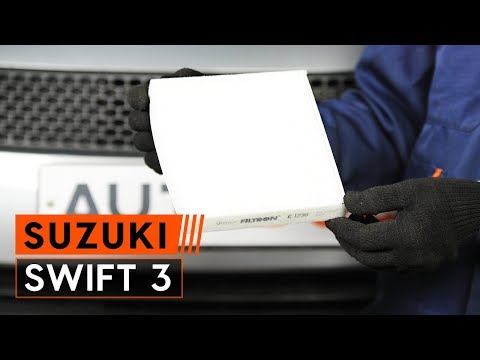
Open the glove compartment and unclip the drawer inside the dashboard using a plastic lever (use a screwdriver if there are screws). Once this is don…

Suzuki Swift
(2004-2010 /
MK 4, Rs41)
If you own a Suzuki Swift and are wondering how you can replace the cabin air filter yourself, then all you have to do is read the following guide an…
Other guides you may be interested in
|
How to Check the Oil Level on a Jeep Renegade?
To check the oil level on a Jeep Renegade, you need to open the bonnet to access the components inside the engine bay: on the lower left side of the engine block, you will find the dipstick for checking the level. This should be pulled out and thoroughly cleaned with a cloth: once cleaned, reinsert it back into its tube and pull it out immediately after. This way, you can check that the oil mark is between the minimum and maximum levels; finally, you can place the dipstick back in its tube. by ScegliAuto More videos
|
|
For advertising on this site Write to info@scegliauto.com
ScegliAuto is not responsible for any inaccuracy of the data in the lists. To report any inaccuracy or your business (if you own the business in question), please write to info@scegliauto.com
Number of seconds to generate the page: 0.315
(c) ScegliAuto 2026 - info@scegliauto.com - Privacy policy VAT number: IT01247470535 |
