
|
Do it yourself
| |||
| ||||


How to reset the tire pressure light on a Toyota RAV4?
Model: Toyota Rav 4
MK 4, Xa40
- Years 2013-2018
To reset the tire pressure light of a Toyota RAV4, you need to use a diagnostic device by connecting it to the OBD (On-Board Diagnostics) port. The OBD port is usually located under the dashboard, near the driver's side. After locating the port, connect the diagnostic device and turn it on following the instructions provided by the manufacturer. Once the device is activated, select the menu dedicated to the Tire Pressure Monitoring System (TPMS). Within the menu, look for the option to reset or calibrate the system. Start the process following the steps indicated on the device screen. During the procedure, make sure all tires are inflated to the recommended pressure, which can be found in the vehicle manual or on the label inside the driver's side door. Once the reset is completed, the light should turn off. If the problem persists, check for any damage to the TPMS sensors or check the tire pressure. If you encounter difficulties, consult an authorized mechanic or the vehicle manual for further details.
Posted on 24 July 2025 by ScegliAuto
This video is currently unavailable
Related tutorials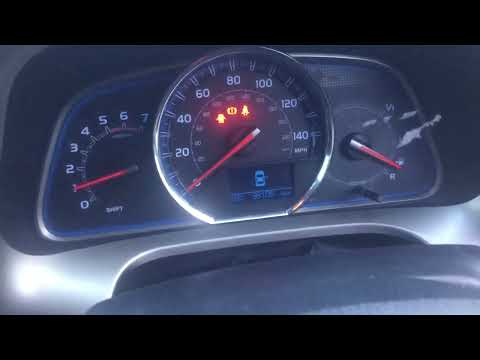
Toyota Rav 4
(2013-2018 /
MK 4, Xa40)
To manually reset the tyre warning light on your Toyota RAV4 fourth generation (2013-2018), follow these simple steps. First, enter the cabin and tur…

Toyota Rav 4
(2013-2018 /
MK 4, Xa40)
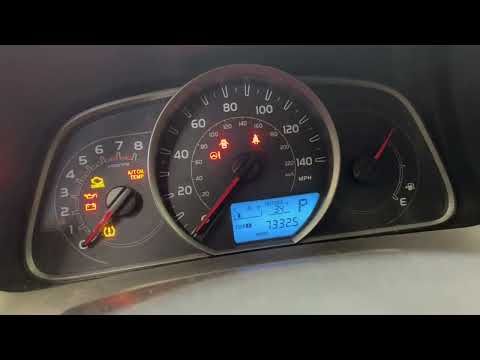
To reset the tire pressure light on a Toyota RAV4, start by turning on the instrument panel without starting the engine. Locate the reset button loca…
Toyota Rav 4
(2013-2018 /
MK 4, Xa40)
To manually reset the tyre warning light that stays on the instrument panel of your 2015 Toyota RAV4, simply follow these very easy steps. First, ent…
Other guides you may be interested in
|
How to Replace the External Wing Mirror on a Ford C MAX
In the event of a breakage, it will be necessary to replace the external wing mirror on the 2011 Ford C MAX. This operation is easily performed independently. Start by removing the internal cover of the mirror with a plastic lever. Then, use a socket wrench to remove the securing pins. Once the pins are removed, you can take off the mirror, but not before disconnecting the power connectors. Then proceed to fit the new mirror. First, connect the connectors and then secure the mirror to its housing with the pins. Refit the plastic cover and test the operation of the electric mirror using the controls. by ScegliAuto More videos
|

|
For advertising on this site Write to info@scegliauto.com
ScegliAuto is not responsible for any inaccuracy of the data in the lists. To report any inaccuracy or your business (if you own the business in question), please write to info@scegliauto.com
Number of seconds to generate the page: 0.060
(c) ScegliAuto 2026 - info@scegliauto.com - Privacy policy VAT number: IT01247470535 |
