
|
Do it yourself
| |||
| ||||


How to remove the side air intake on a Toyota MR2
Model: Toyota Mr2
MK 3, W30
- Years:
1999, 2000, 2001, 2002, 2003, 2004, 2005, 2006, 2007
Video tutorial
Let's see how to remove the side air intake located on the Toyota MR2: the operation requires removing the internal panels first to access the fastening nuts. First, we need to remove the panel behind the seat, fixed with clips; we use a pry tool to gently release it. We will then need to remove the side glove compartment, which is fastened with three Philips screws and plastic clips. It may also be necessary to remove the central panel that extends between the two seats and is mainly fixed with clips; we move it carefully to create space. Now that we have access to the interior, we look for the nuts that secure the air intake, behind the air intake we will find a black plastic cover: behind it we will find a 10 mm nut. It will be necessary to use a socket wrench extension to reach it (and a magnet to extract it once loosened, as it could fall into an unreachable cavity). There are other nuts that secure the fender and air intake assembly. Let's look for them in the area and unscrew them all. Once all the nuts are removed, the air intake is only held in place by plastic clips. From the outside, we will use a pry tool to gently remove the entire piece.
Posted on 21 October 2025 by ScegliAuto
Related tutorials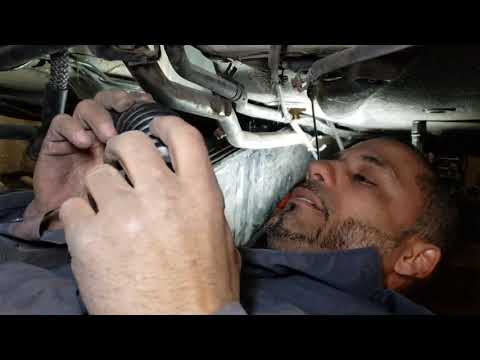
Toyota Mr2
(1990-2000 /
MK 2, W20)
To replace the fuel tank on a Toyota MR2, lift the car using a jack or ramp to access the components underneath. For this model, the tank is located …
Toyota Mr2
(1990-2000 /
MK 2, W20)
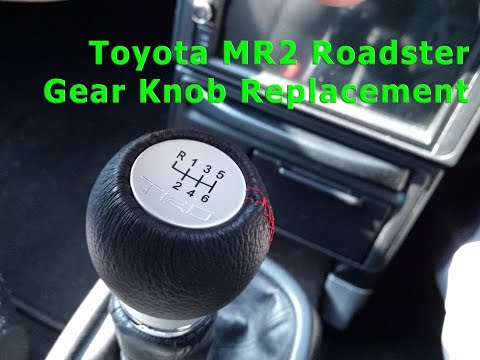
To replace the gear knob on a Toyota MR2, simply grasp the old knob located at the end of the gear lever and rotate it anti-clockwise. This will free…
Toyota Mr2
(1990-2000 /
MK 2, W20)
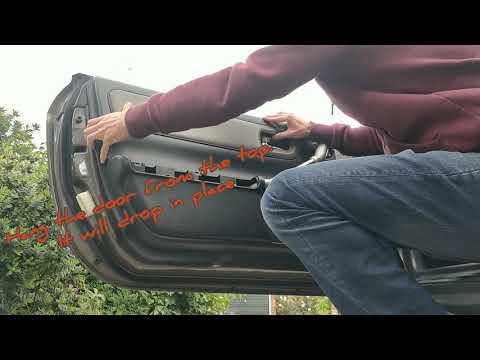
To remove the door panel of the Toyota MR2, first remove the trim located above the glove compartment and take out the screws underneath. Next, remov…
ScegliAuto offers an extensive international collection of automotive tutorials available in 12 languages. Each guide combines instructional videos with original explanations written by experienced human editors, along with information about the car models covered.
Other guides you may be interested in
|
How to Remove the Spare Wheel from the Citroen C4 Picasso
Follow these instructions to remove the spare wheel and replace it on the Citroen C4 Picasso. On this model, the spare wheel is located under the vehicle's floor; to lower it, simply unscrew the bolt to loosen the strap, then disconnect it from the spare wheel, as shown in the video. At this point, lift the vehicle and remove the wheel, securing the spare wheel or space-saver; tighten the bolts in a criss-cross pattern, finally placing the old wheel back under the vehicle's floor! by ScegliAuto More videos
|
|
For advertising on this site Write to info@scegliauto.com
ScegliAuto is not responsible for any inaccuracy of the data in the lists. To report any inaccuracy or your business (if you own the business in question), please write to info@scegliauto.com
Number of seconds to generate the page: 0.018
(c) ScegliAuto 2026 - info@scegliauto.com - Privacy policy - About us VAT number: IT01247470535 |
