
|
Do it yourself
| |||
| ||||


How to disassemble the seat of a Rav 4
Model: Toyota Rav 4
Xa20, MK 2
- Years 2000-2006 Do we want to remove the car seat? Let's see how to disassemble the seat of a Rav 4 seat. We enter the vehicle, move the seat back and bring the seat up, then, unscrew the tightening screws placed on the front rail with a socket wrench. We move the seat forward with the shift handle and remove the locking pins from the rear of the rail. Finally we disconnect the power supply terminals of the front seat. We assemble the front seat of the car by carrying out the disassembly operations mentioned above. We disconnect and connect any electrical terminals placed under the seat.
Posted on 27 December 2023 by ScegliAuto
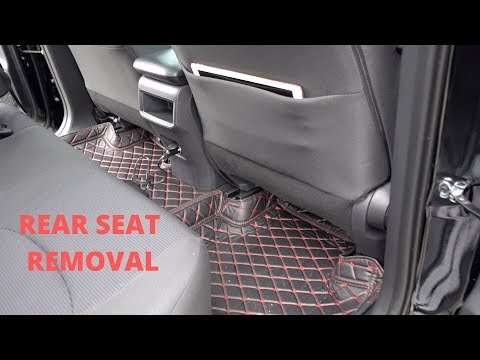 How to disassemble Toyota Rav 4 bench seat 5
Toyota Rav 4 (2019-2024 / Xa50, MK 5) Today we will see, in this video tutorial, how to disassemble the bench seat or the rear bench seat of the Toyota Rav 4 fifth series, following the i  How to remove the front seats of the Toyota RAV 4
Toyota Rav 4 (2013-2018 / Xa40, MK 4) Today's instructions will show us how to disassemble and replace the front seats of the Toyota RAV 4, following these simple steps. First, we open th 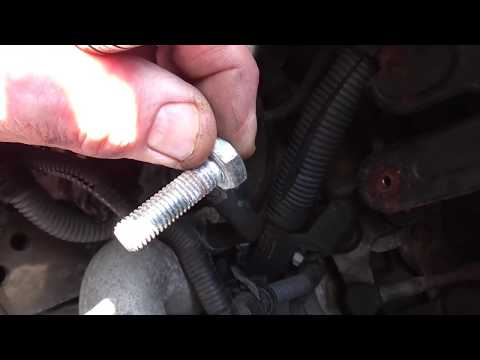 How to disassemble the EGR valve on Toyota Rav 4
Toyota Rav 4 (2000-2006 / Xa20, MK 2) How to disassemble the EGR valve mounted on a Toyota Rav 4? Lift the bonnet and put it in safety, then, with a screwdriver, unscrew the locking pins Other guides that may interest you
|
How to deactivate the safe lock on a Volkswagen Golf.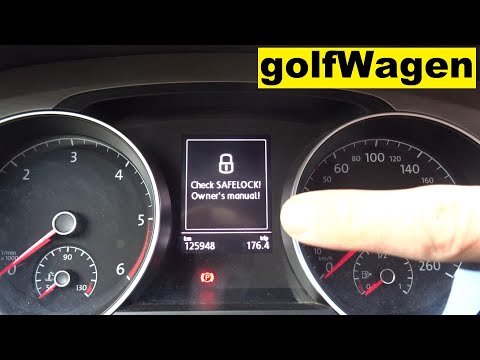
The safe lock is indeed an anti-theft system that prevents thieves from accessing the car. This device locks the doors, both externally and internally, when the driver activates the central locking remote control after leaving the vehicle. To permanently disable it, it is necessary to use a diagnostic program such as VCDS that we will connect to the vehicle through the ODBII port. Then wait for the connection and recognition of the control unit and then select the blocks present and locate the safe lock to disable it. And the job will be completed. by ScegliAuto More videos
|
|
For advertising on this site Write to info@scegliauto.com
ScegliAuto is not responsible for any inaccuracy of the data in the lists. To report any inaccuracy or your business (if you own the business in question), please write to info@scegliauto.com
Number of seconds to generate the page: 0.041
(c) ScegliAuto 2024 - info@scegliauto.com - Privacy Policy VAT number: IT01247470535 |